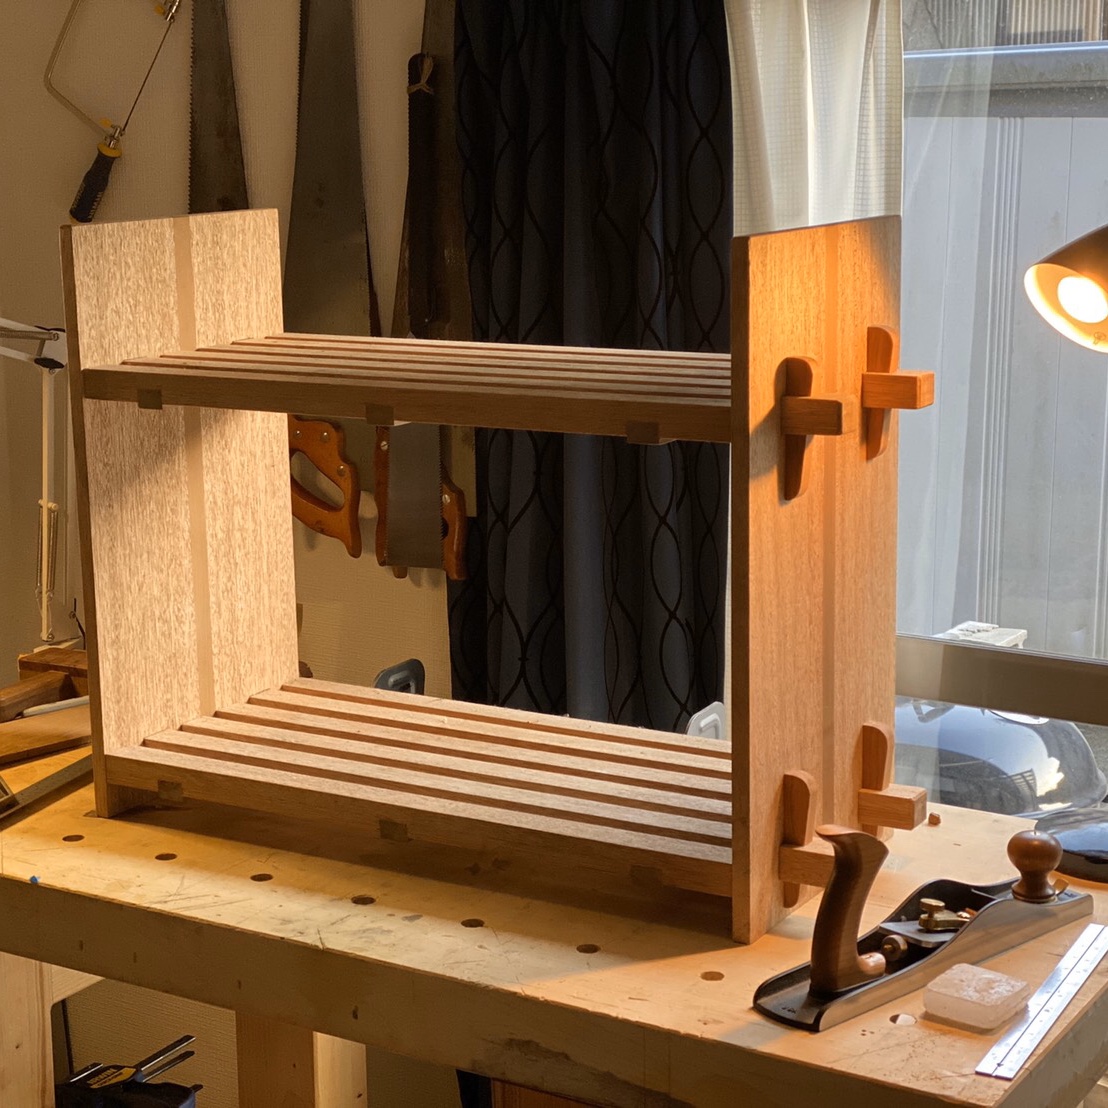
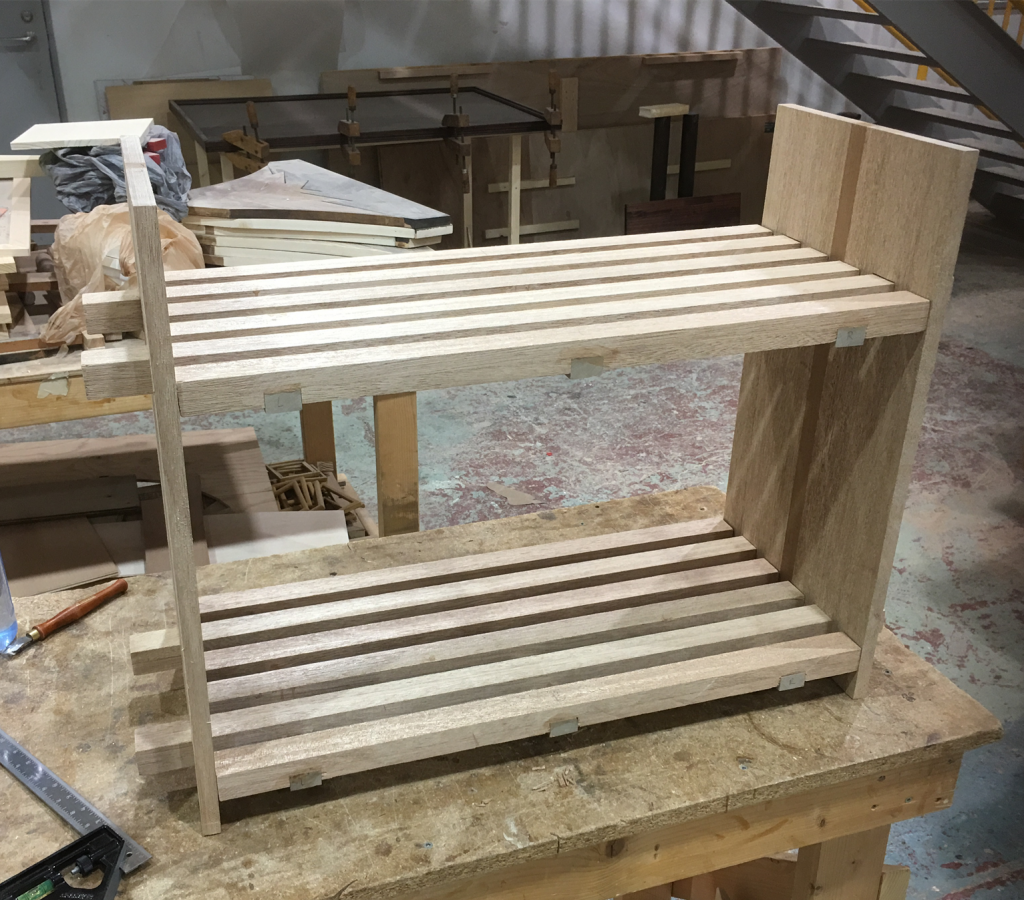
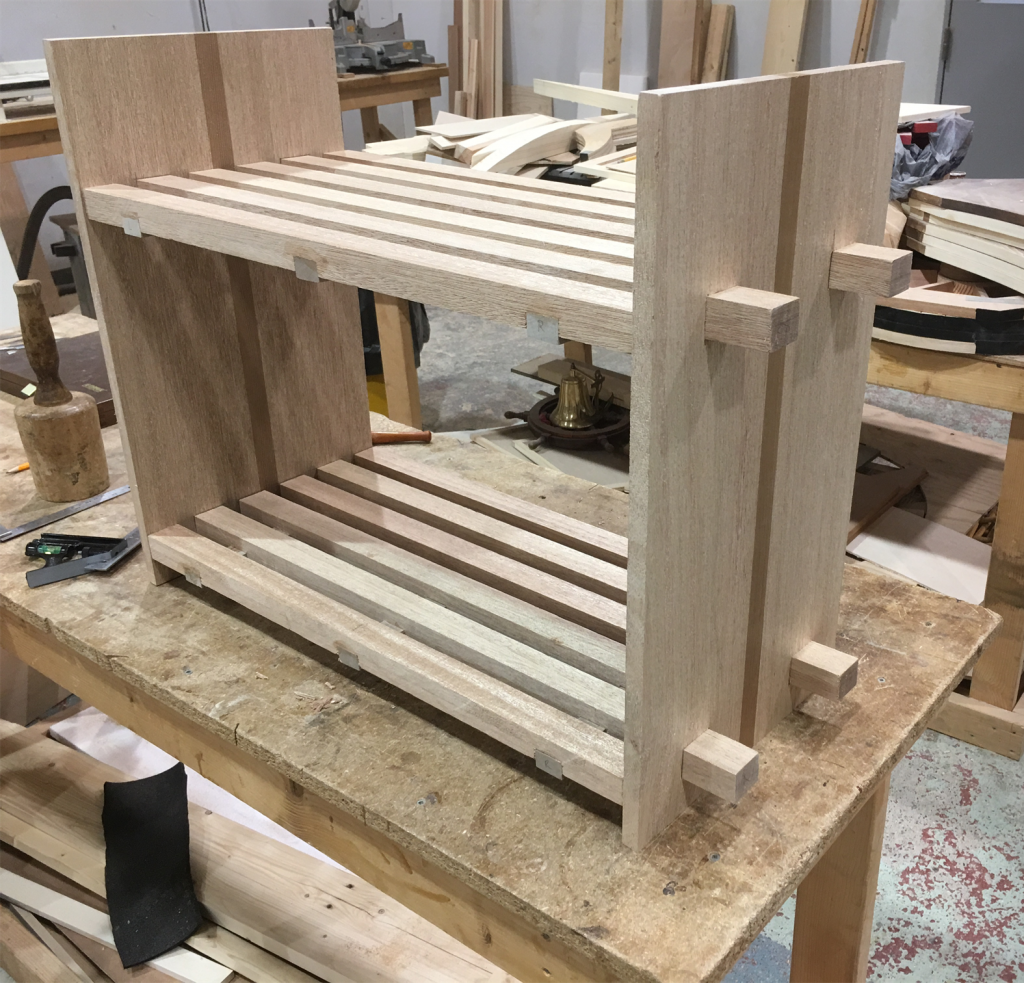
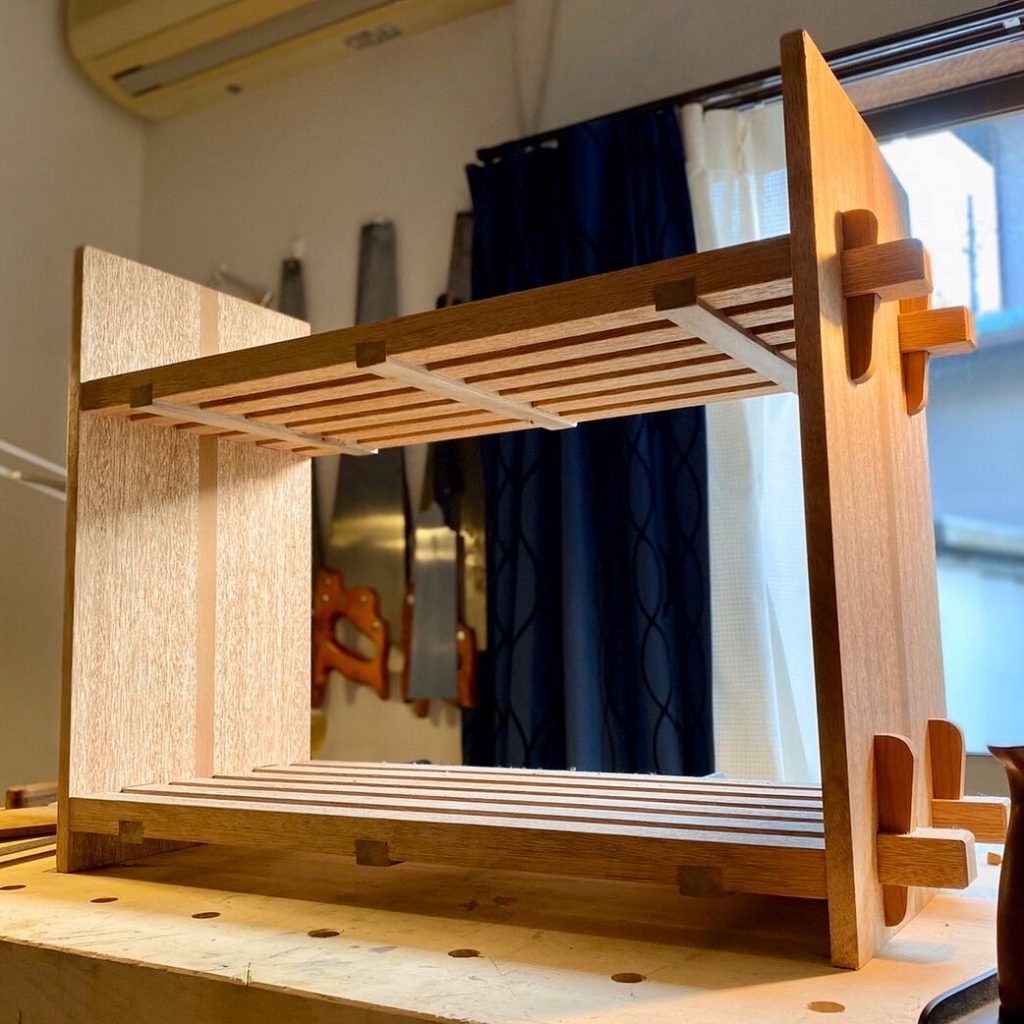
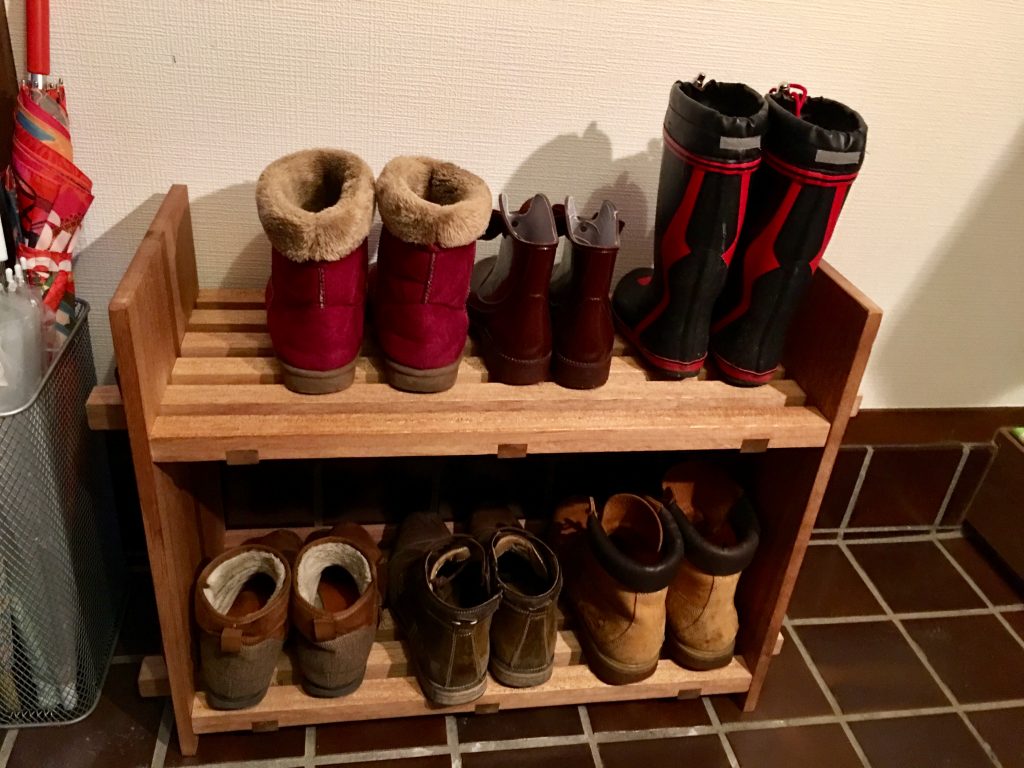
Our family moved in mid-September last year to a slightly larger house while also saving us a quite a bit of money on rent. With the extra space, I decided that perhaps I could get back into woodworking again. I finished off one simple project, a name plaque for our house entrance. My wife then asked that, due to a lack of shoe storage at our entrance, I build a shoe rack for the front entrance for our larger shoes and boots. I set out to design a shoe rack that would fit the space we have in our 玄関 (house entrance).
Designing
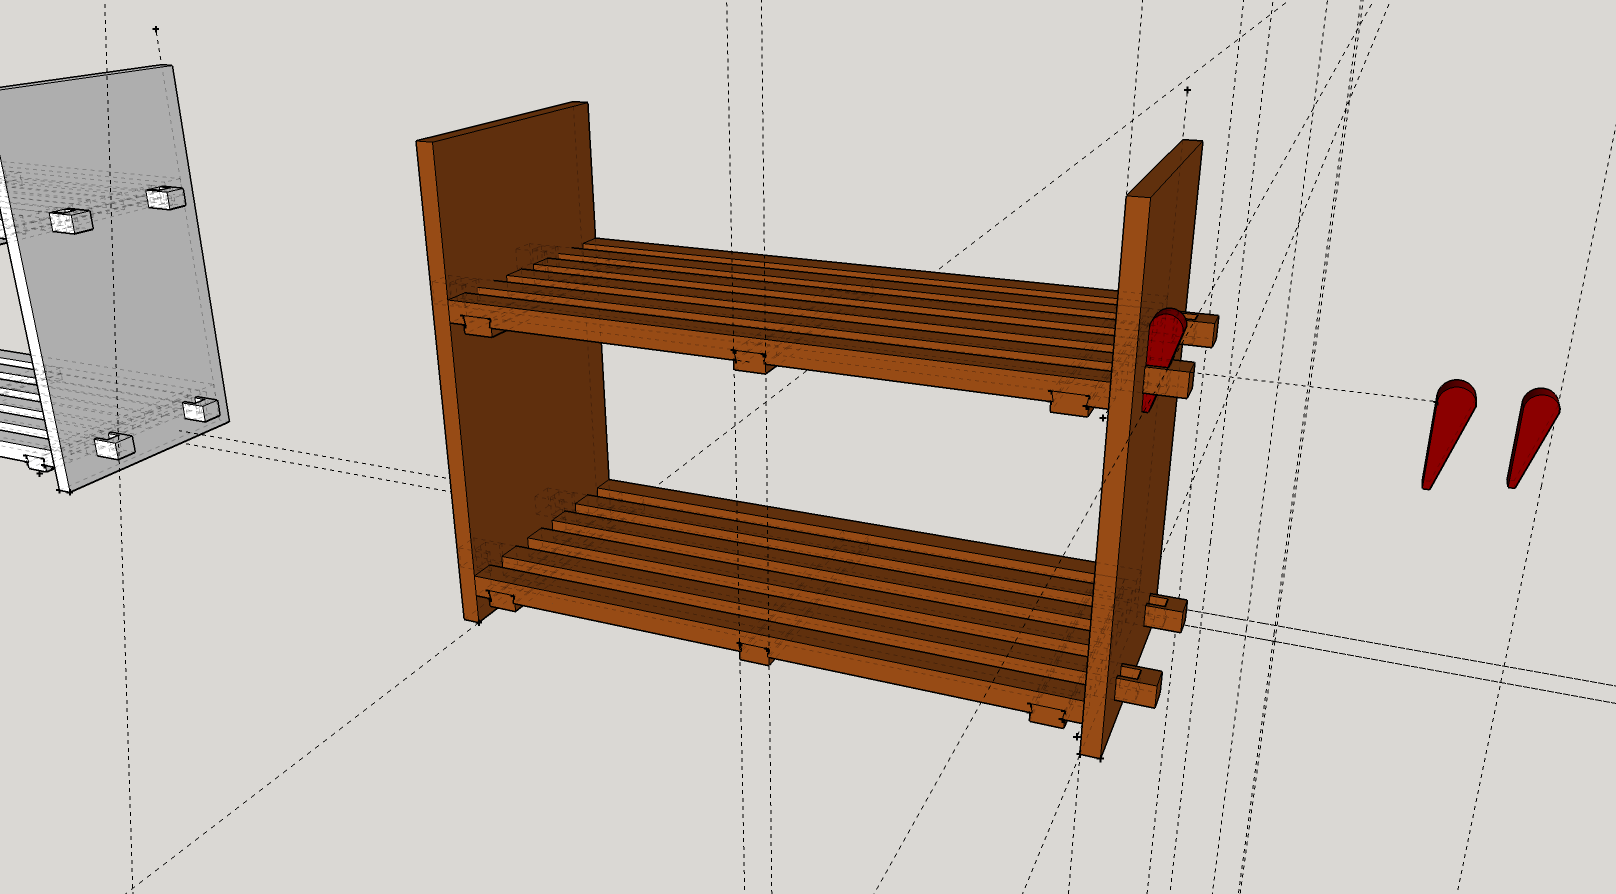
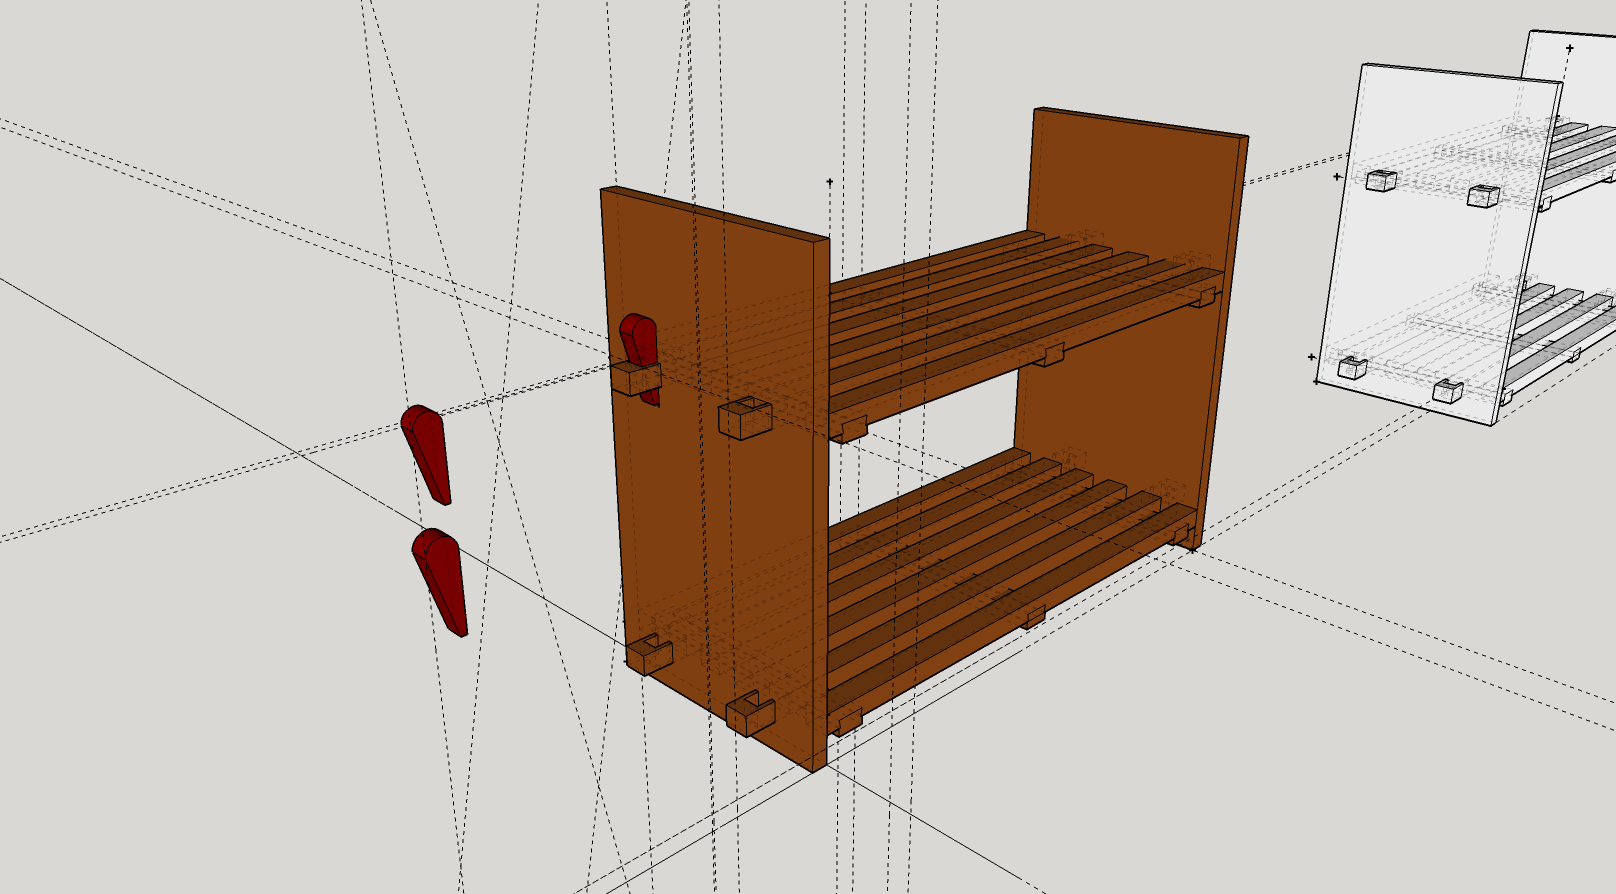
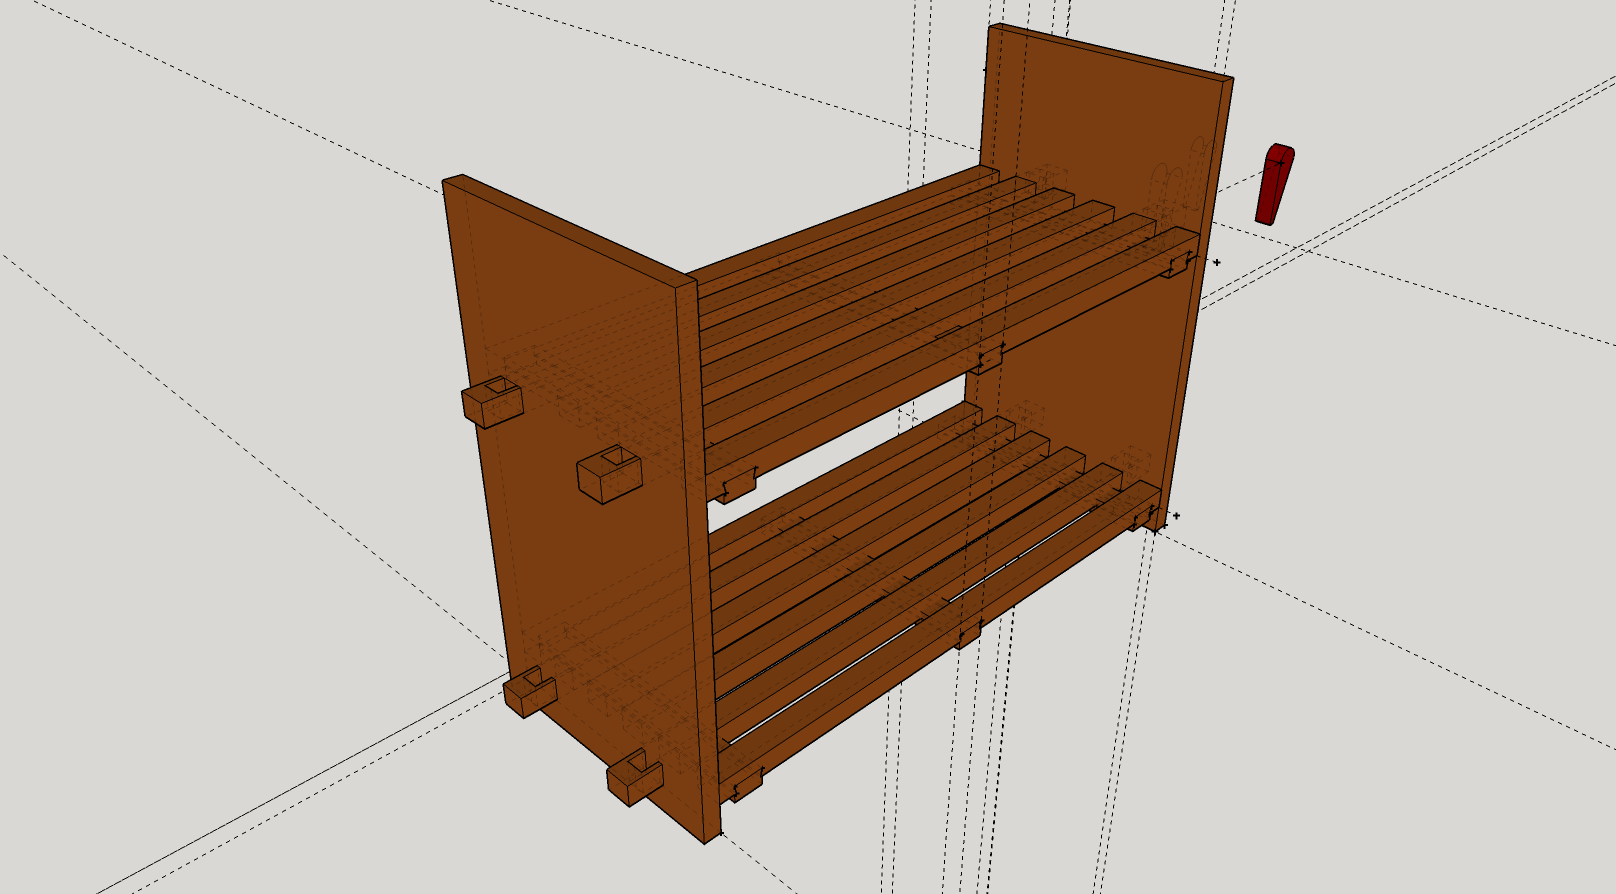
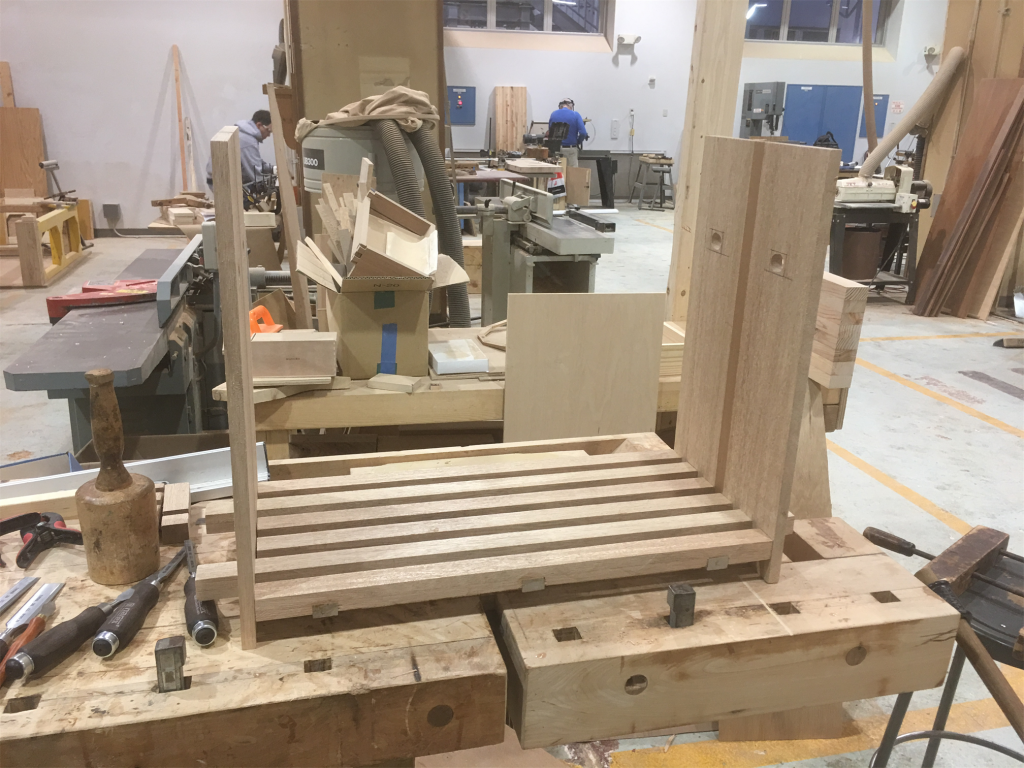
The first step to any woodworking project I do is design it in SketchUp. With a rough idea of the look that I want along with how sophisticated I want it to join together, I spend a couple of days building, tweaking, and getting commentary on how it looks. For this build, I wanted to try something I had never done before and that was a no glues/no screws build with pretty nifty joinery all around. In the preview images, you can see I was going for two layers of slats joined together via sliding dovetails connected to a side panels with tusked through mortise and tenons.
Beginning the Build and the First Mistake
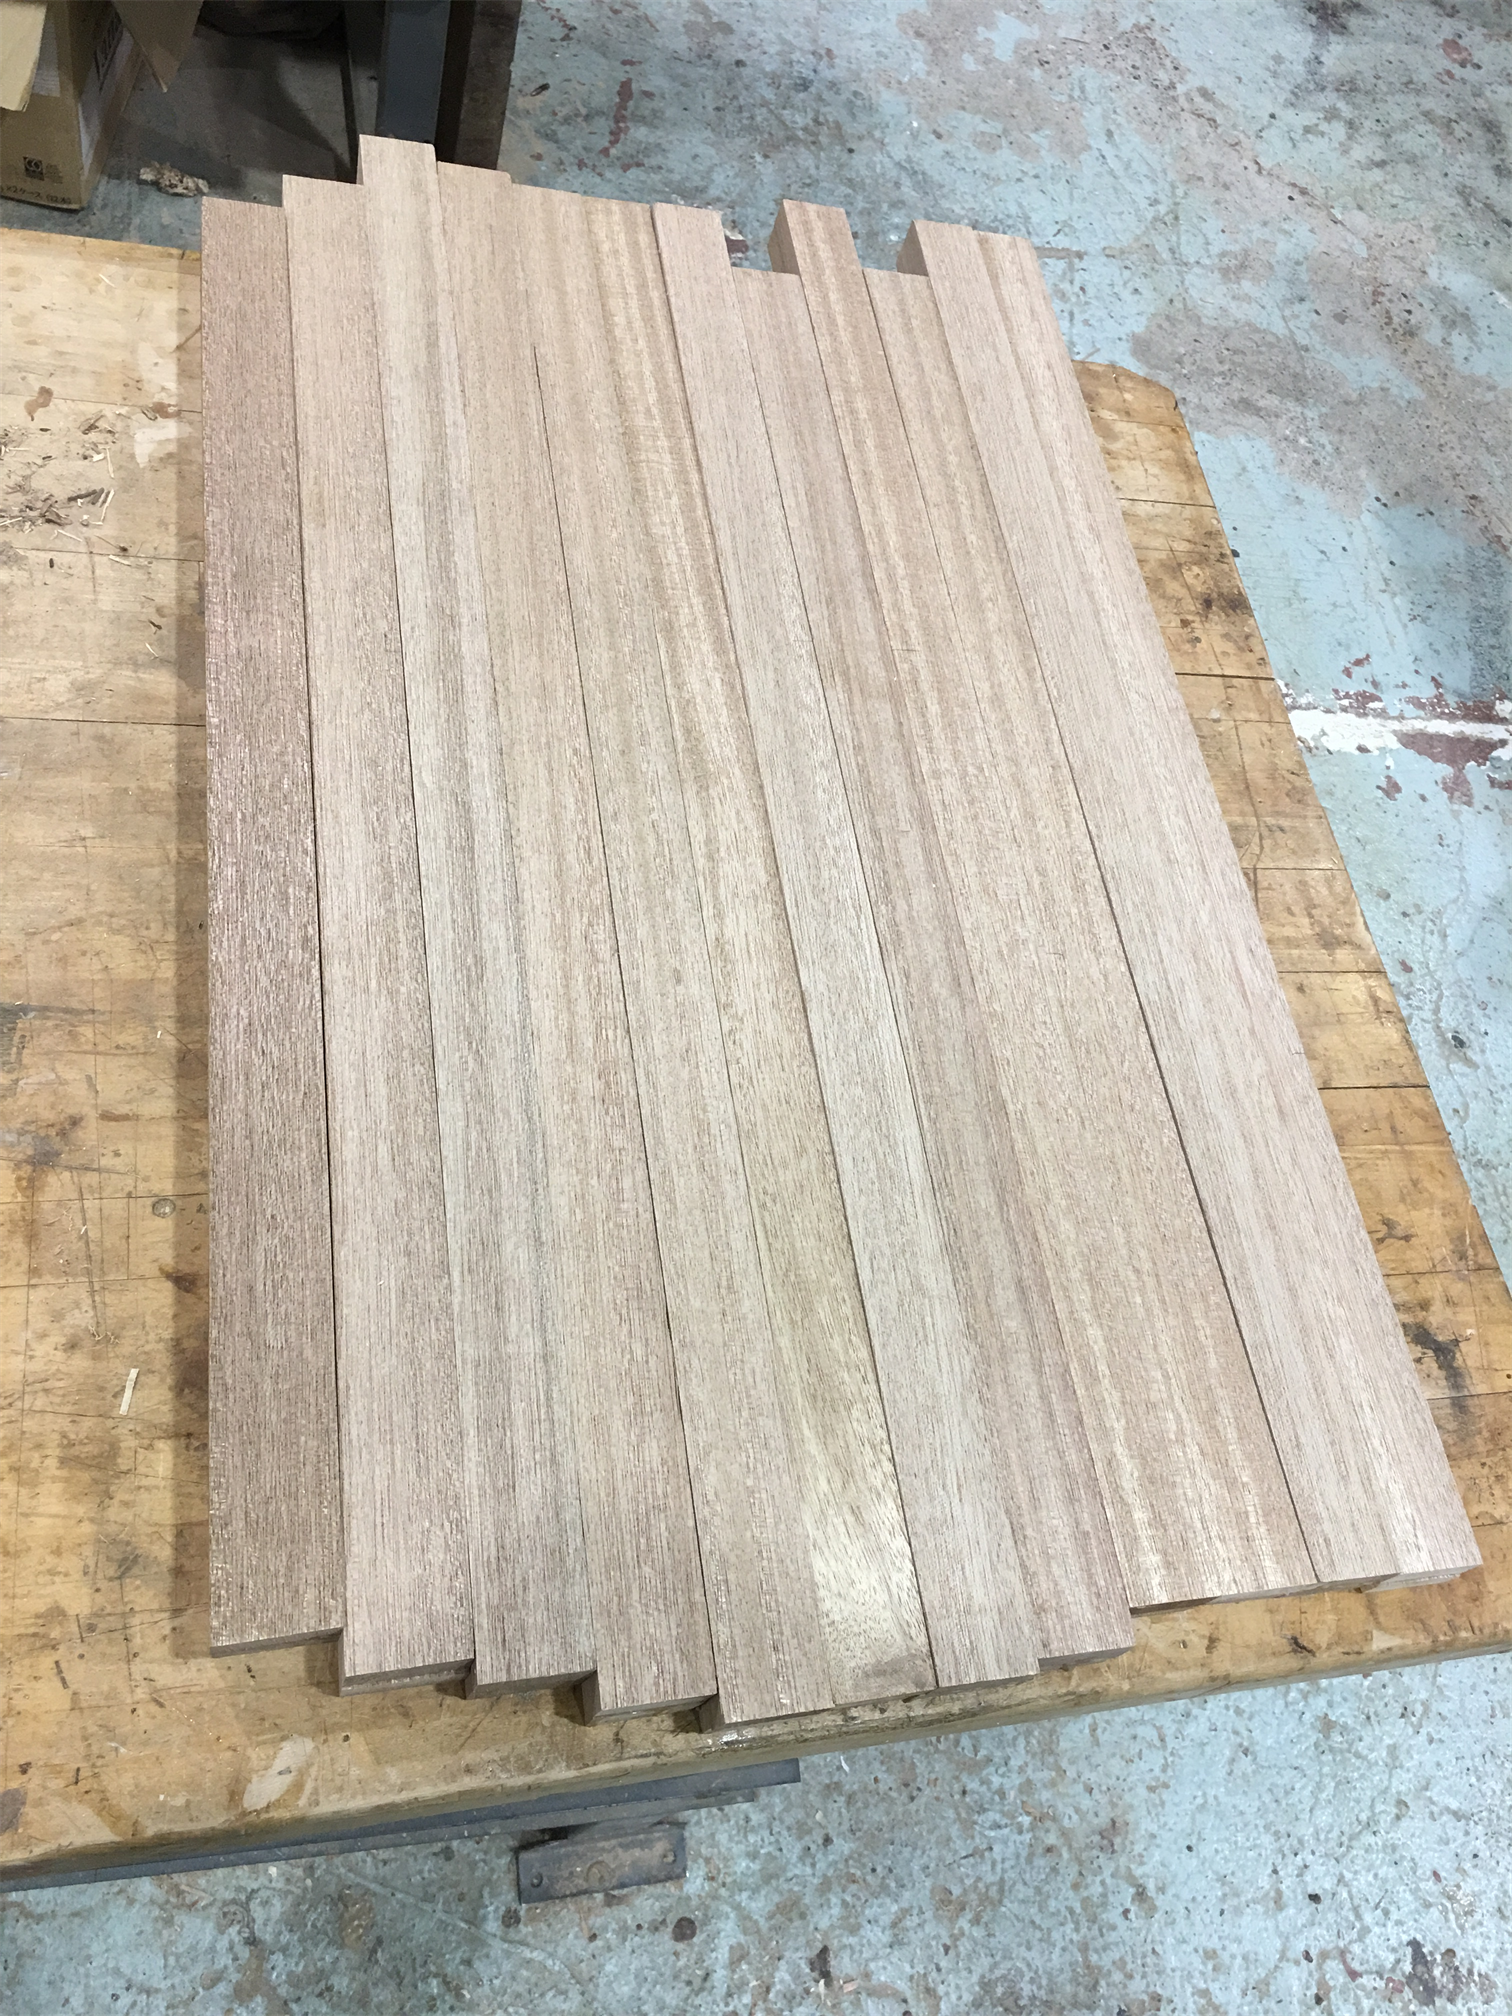
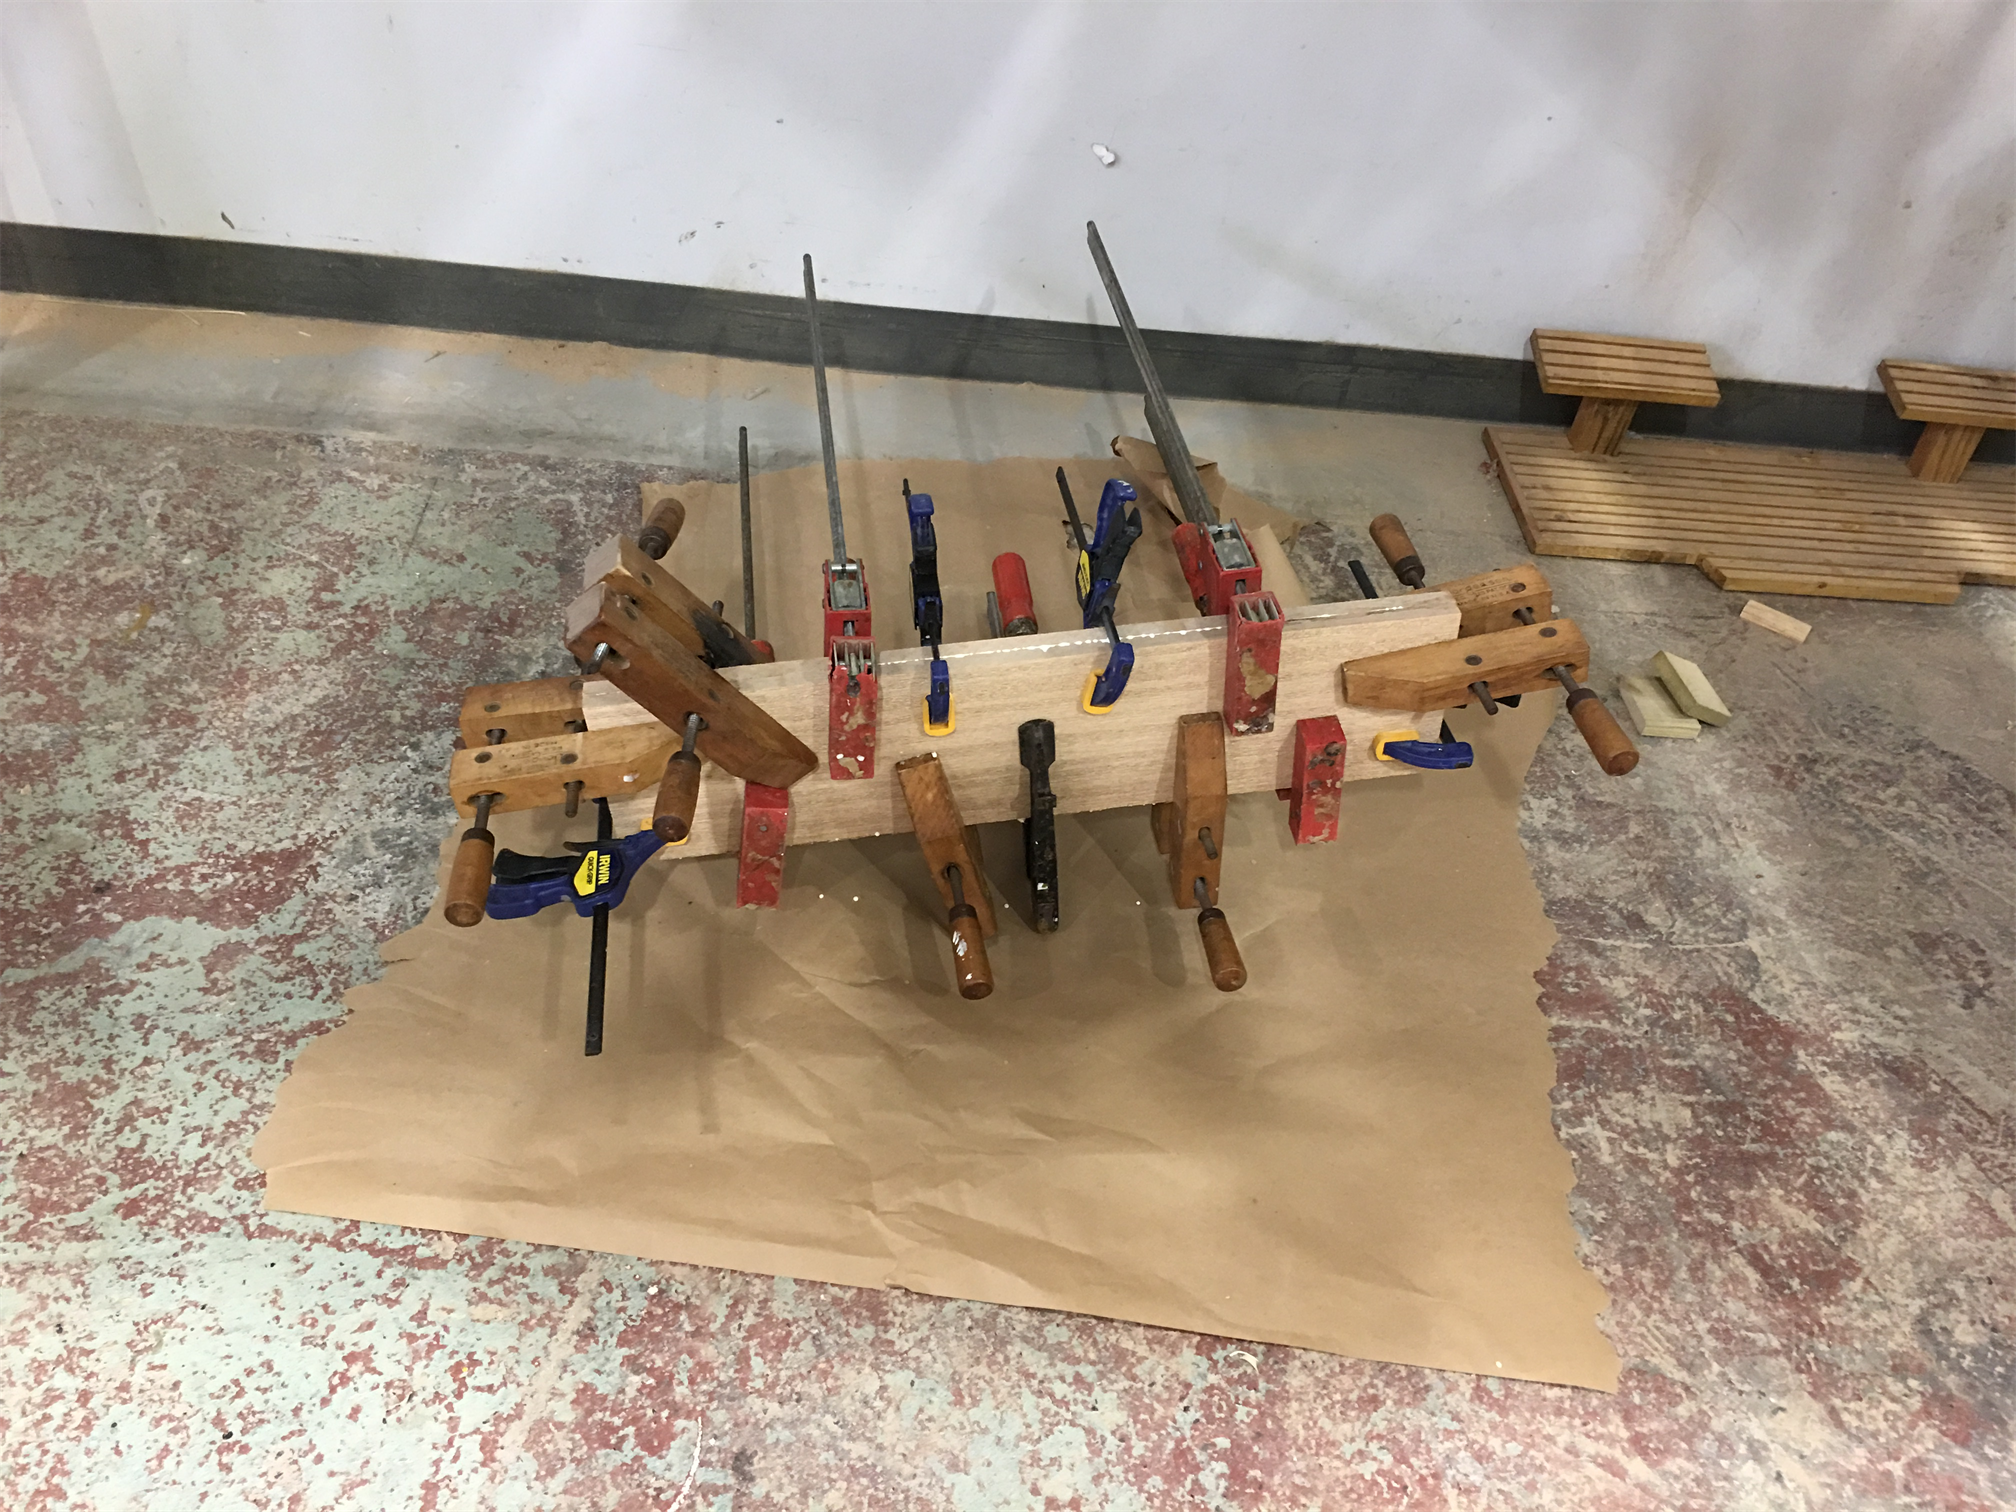
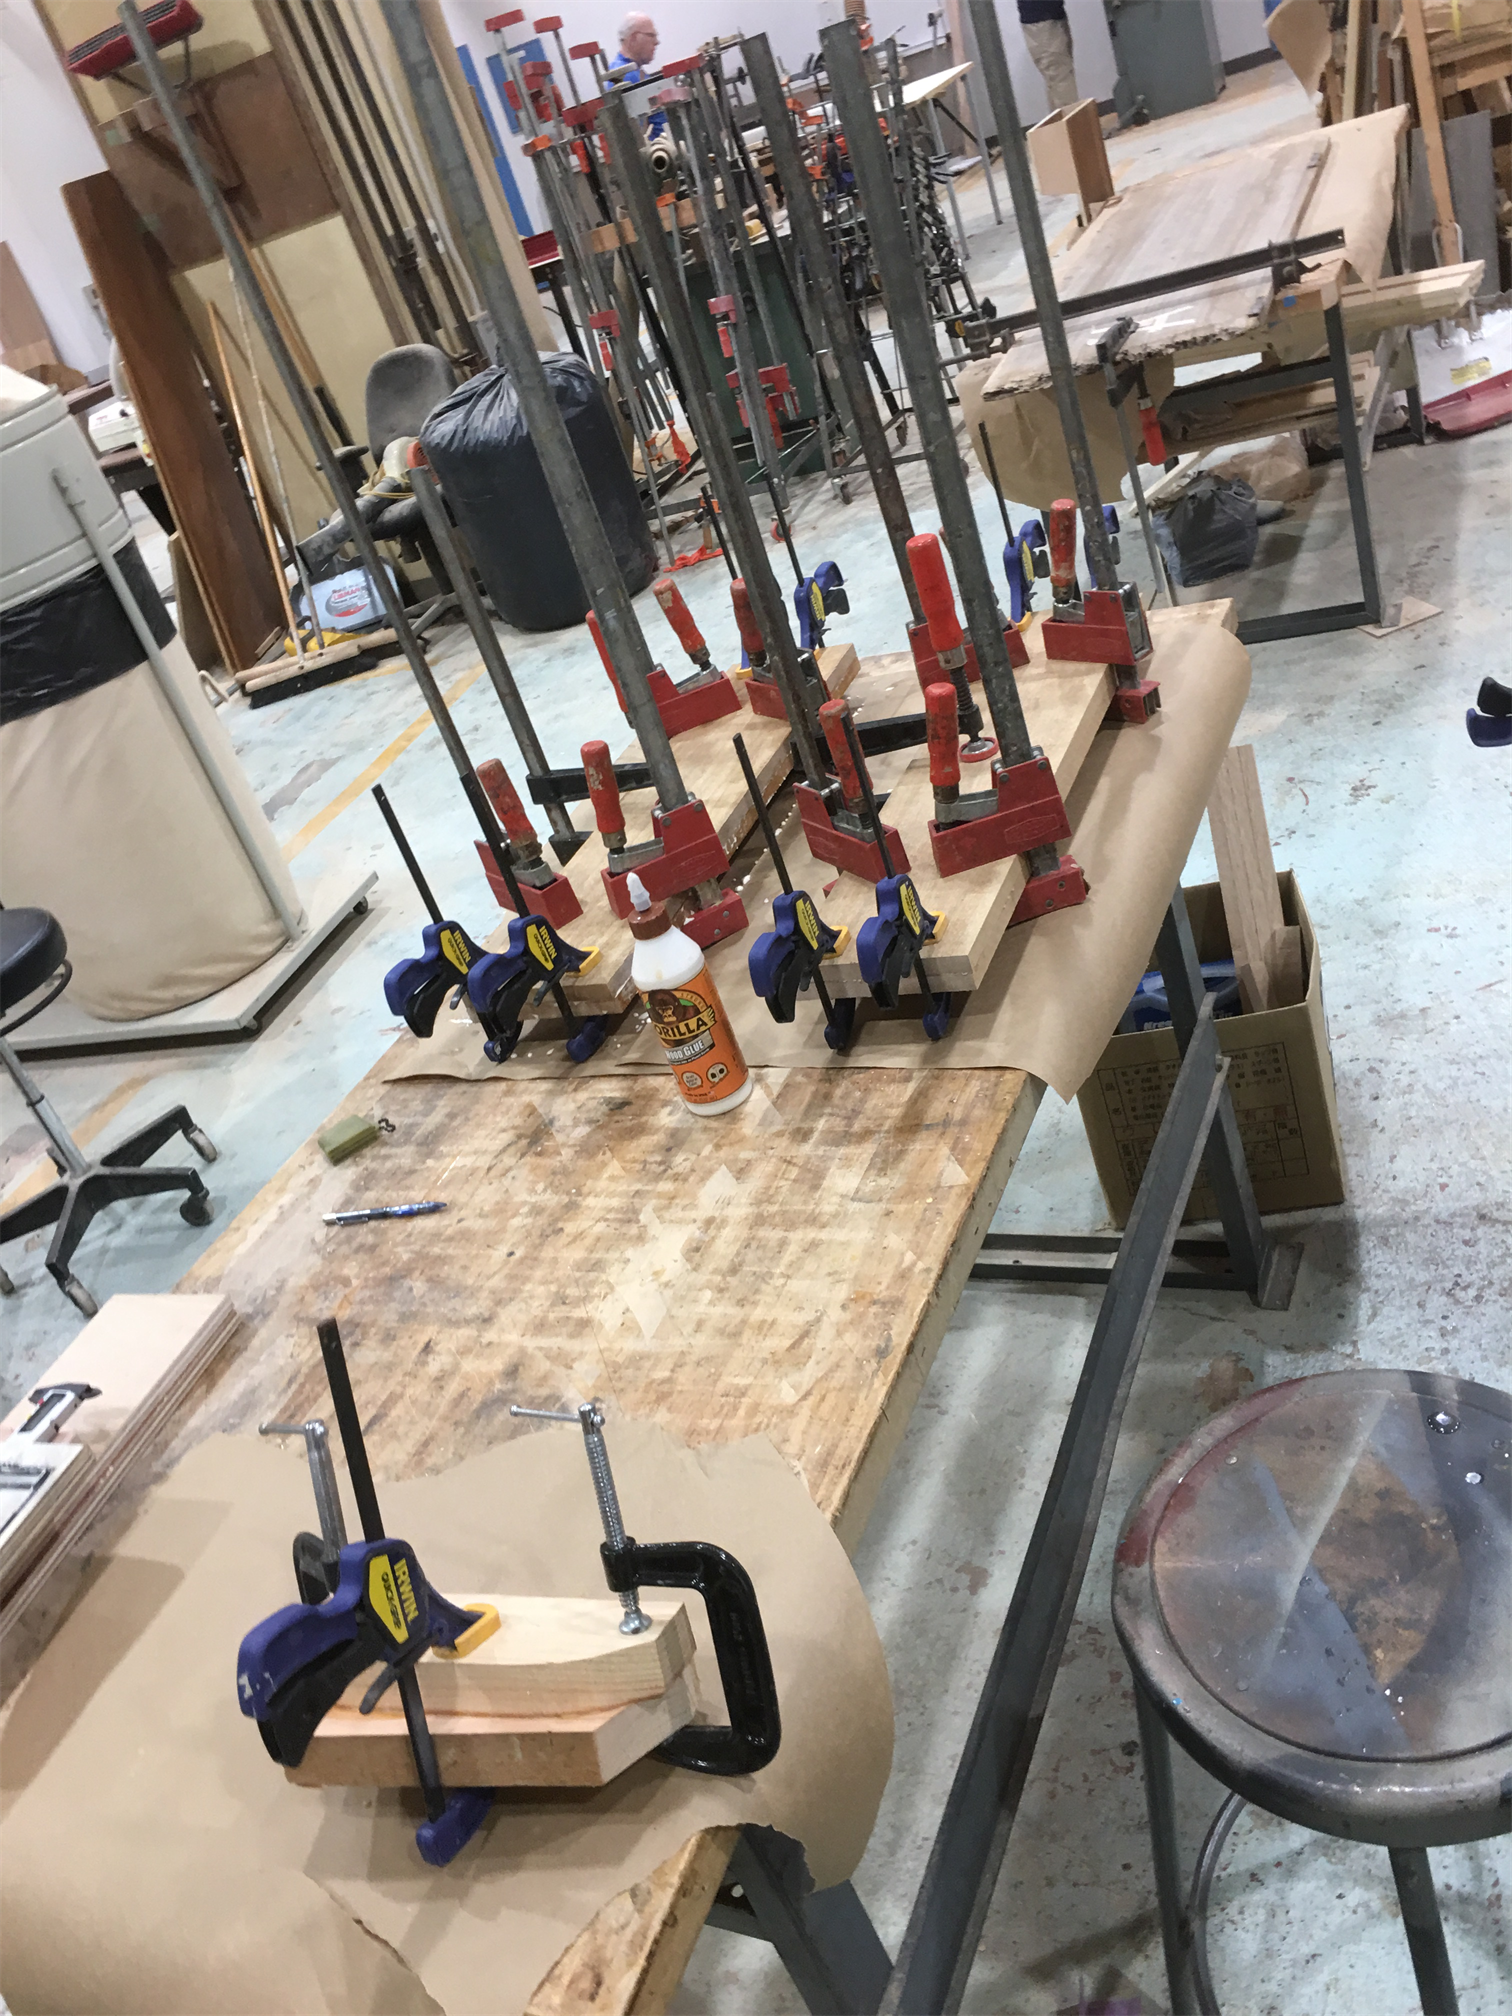
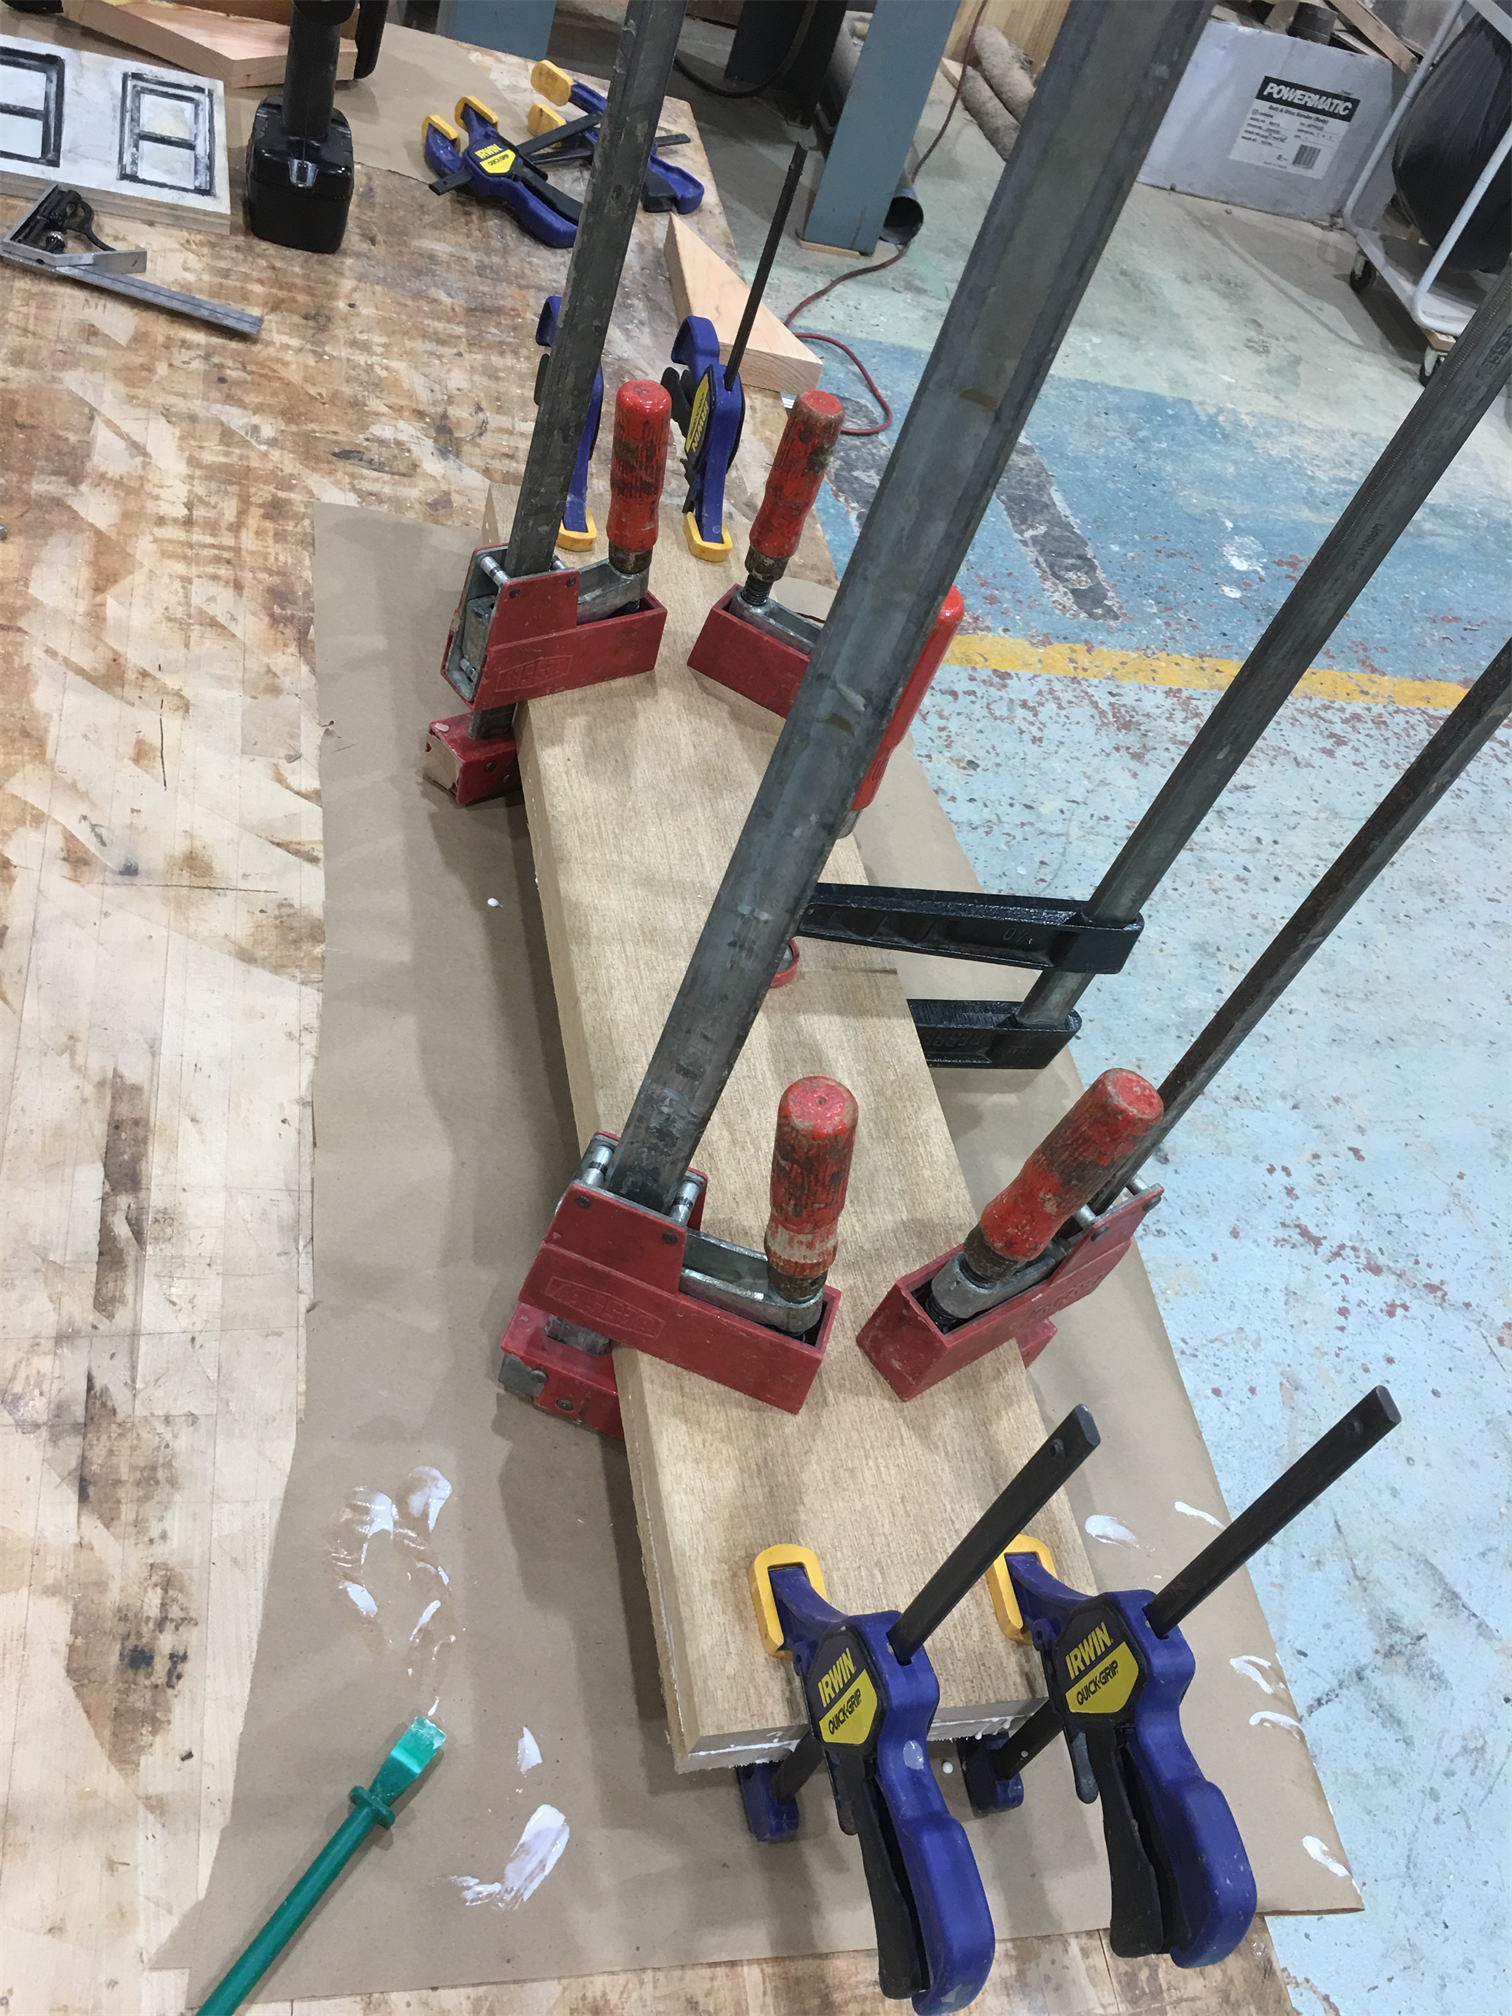
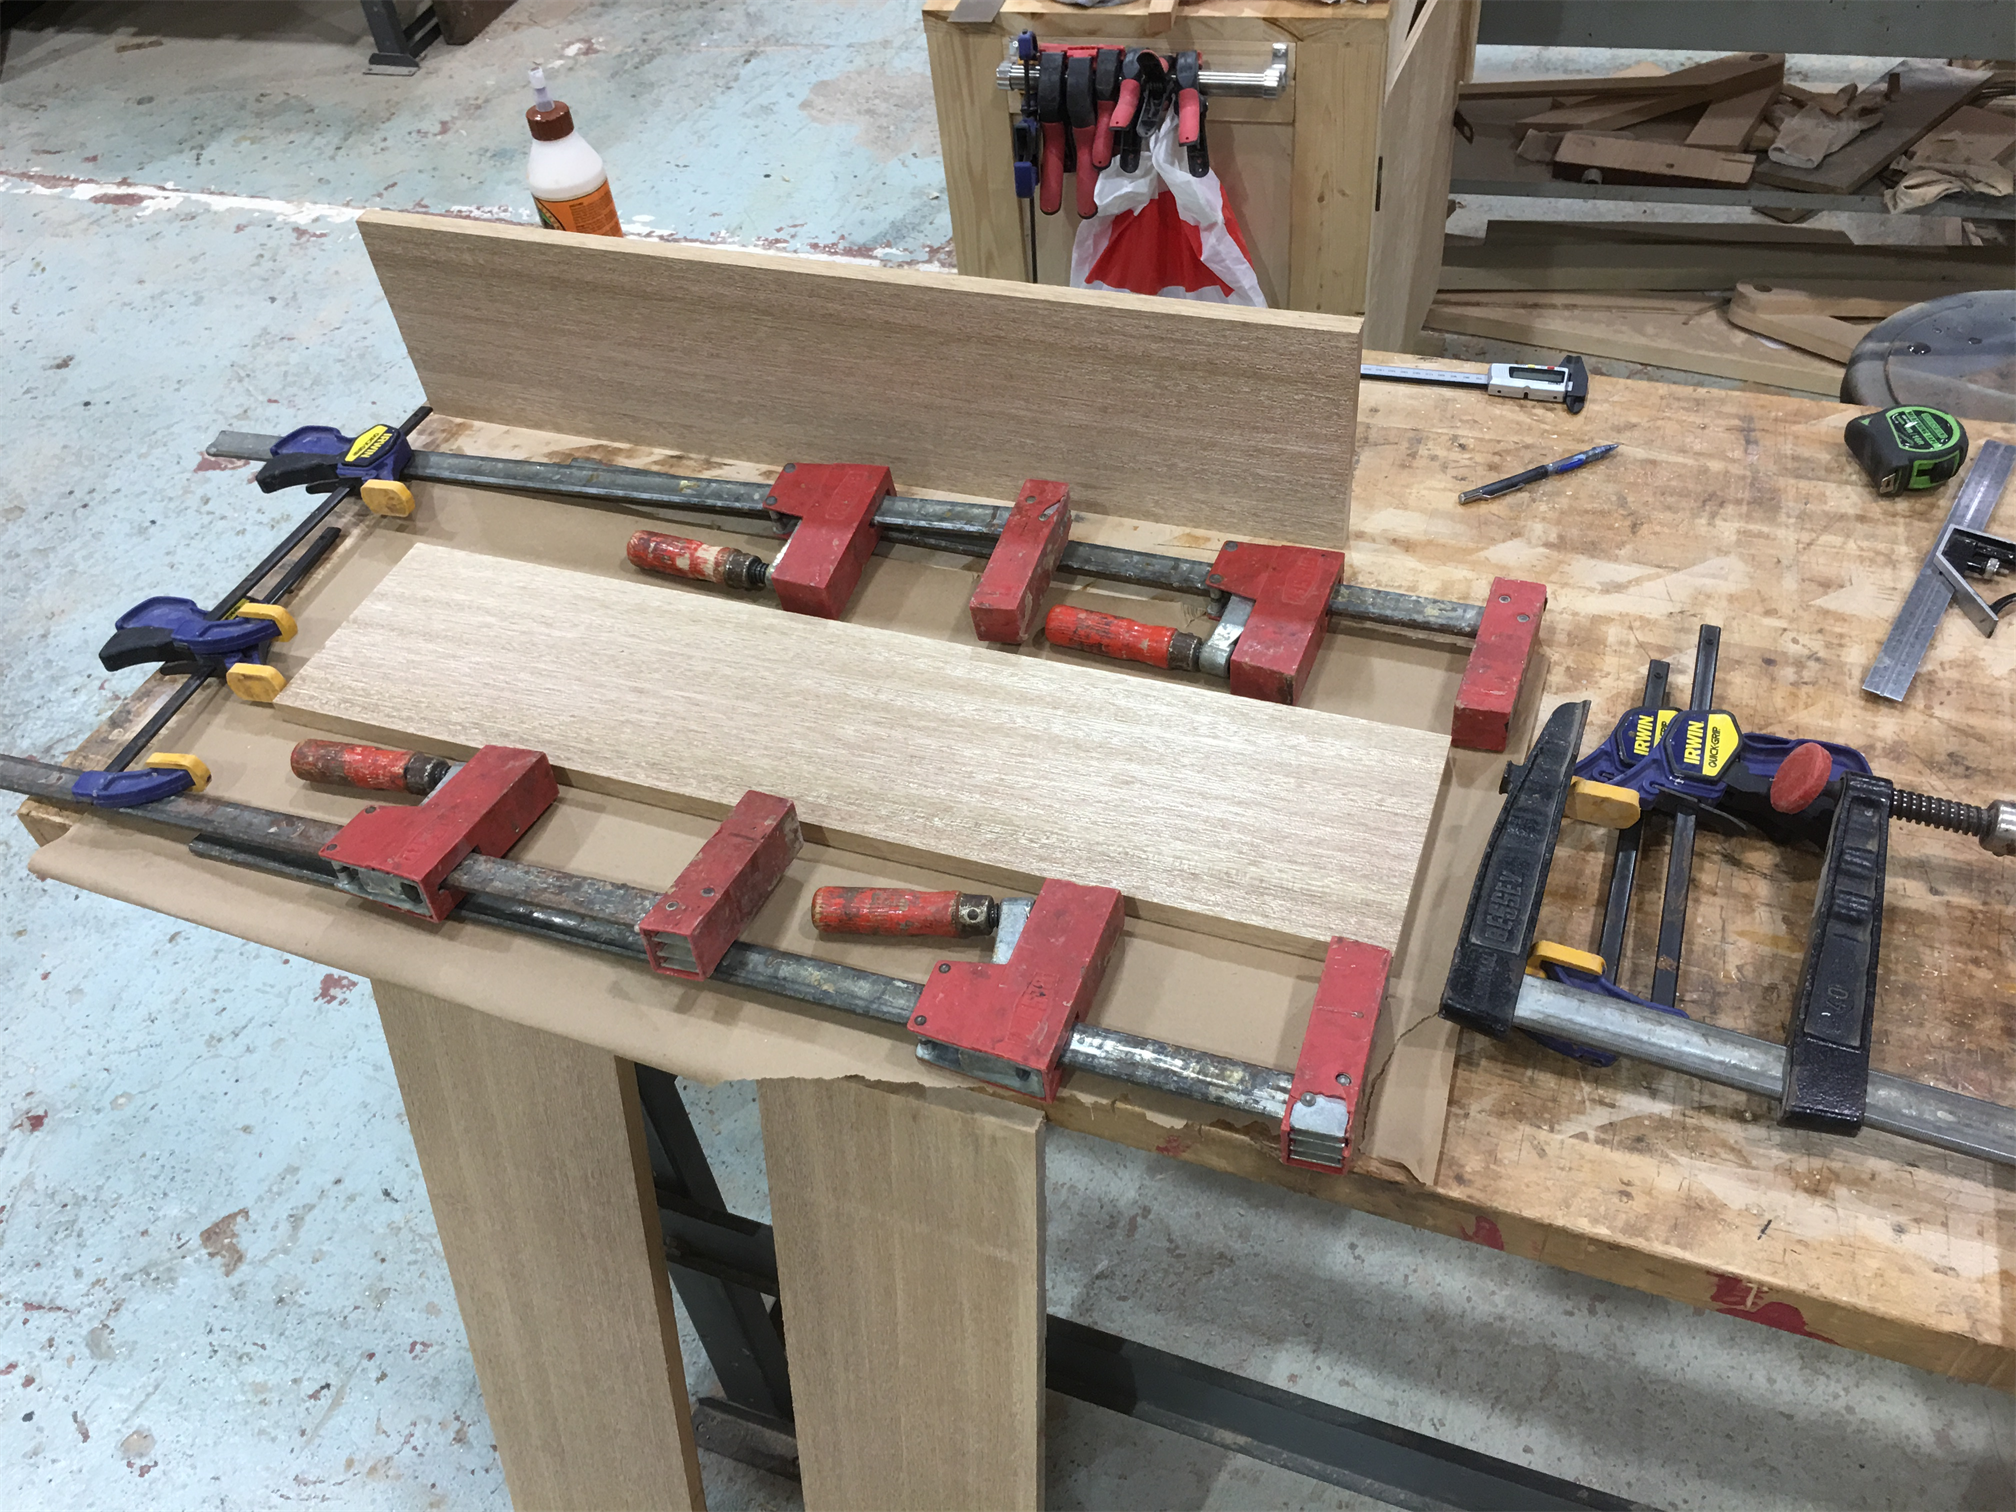
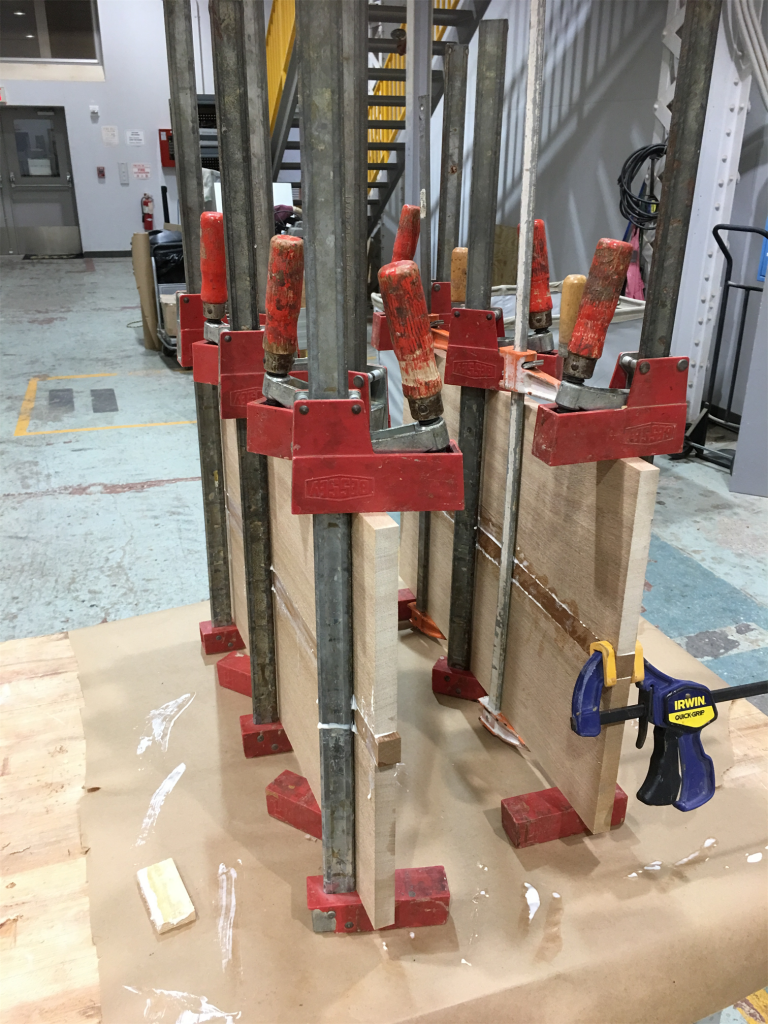
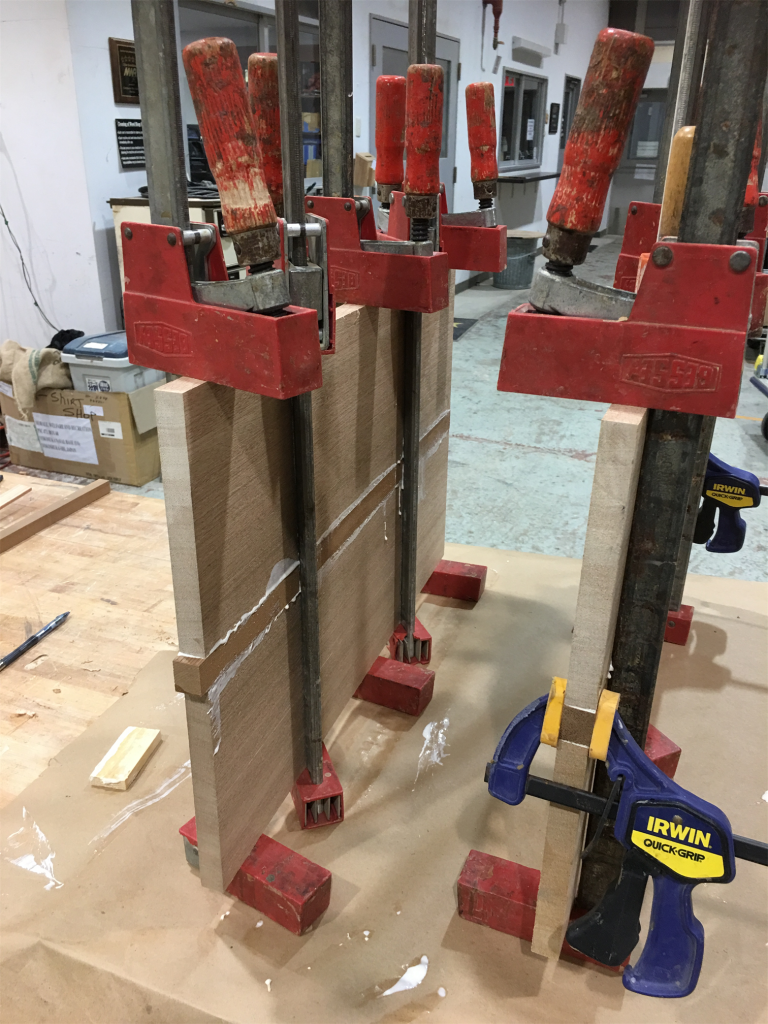
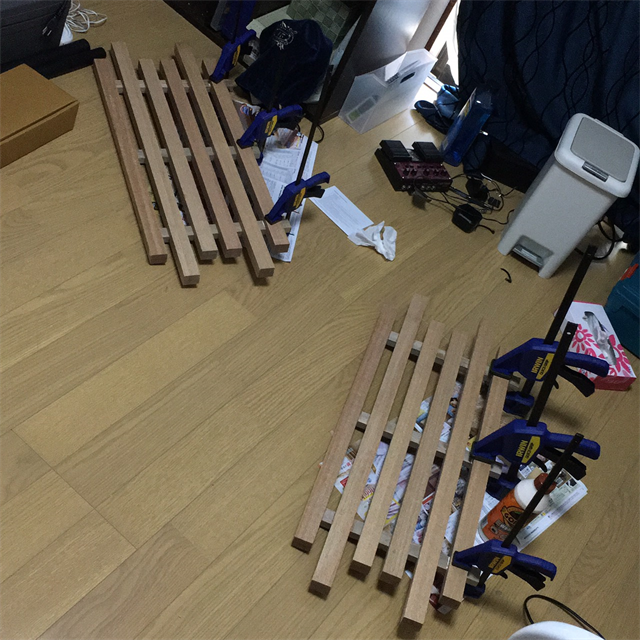
I sourced two types of wood from a local hardwood dealer. The wood he recommended for the slats and panels is called Phillipine Mahogany or, in some places, Meranti. The second wood to be used for the tusks and sliding dovetail’s tail pieces was a mystery wood that he gave me for free. At this stage, I made my first mistake because the wood that I purchased was not as thick as I had planned for the slats. In my cut list, the slats needed to be at least 30mm thick but the wood I purchased was only around 22mm thick. Luckily I had enough board to face glue a few lengths together to get my full 30mm after thicknessing. As you can see in the pictures below, you can never have too many clamps. After those were all glued up, I cut out all my slats.
Building the Side Panels
I wanted a fancy looking side panel so I decided to take some of the mystery wood, rip some thinner strips out of it and do a panel glue up with the meranti. I’ve done this several times in the past so it went fairly smooth. I know I said “no glue” but panel joins like this don’t count! In the future, I’ll have to be a little more careful about how much glue I use and also cleaning it up quickly with a wet rag rather than waiting.
Running into Huge Problems
With the slats and panels done, it was time to start cutting the sliding dovetail joinery and this is where everything fell apart in the “no glue” plan. In my original plan, as stated, the bottom connecting bars would be tails to the dovetail pins in the slats. The first issue was the mystery wood that I received for free.
It is an extremely soft wood. While it did well in the panel glue up, attempting to manipulate beyond straight lines, i.e. with a a dovetail bit in a router table, the wood was completely chewed up. Even after sneaking up on it slowly about a millimeter at a time, there was still huge amounts of identations and tearout. A good solution for that was provided my good buddy who gave me some hard maple taken from a decommissioned heavy machinery pallet. After squaring those up I recut out my tails. This time, the results were much better.
The second issue came after I handcut the first layer of pins on the slats. After taking several days to perfect cutting a few pins in test stock, I started transferring them to the six slats. After all six slats were cut, I went to line up the tails in the pins. Here is when I realized a grave mistake. I should have cut the pins before turning the larger board into slats! They were completely out of alignment, beyond fixable, and in the actual work piece I was using to boot. The only positive out of this whole process was I got to use my new fancy Narex chisels for the first time.

At this point I was extremely frustrated. Working on the sliding dovetails had taken about a month and a half already simply due to the amount of time I get to spend at the woodshop during the work week. I stepped away from the project to gather my thoughts and the next day I had an idea. Forget the sliding dovetails and cut out dados. I would have to break my “no glue” attempt but, as my buddy put it, at least I’ll be able to “kick this can down the road.”
Slats Done. Mortise Time.
Fast-forward a couple of days later, I had my dados cut and had completely finished the glue up. With the slats completed, I could finally see the project starting to come together.
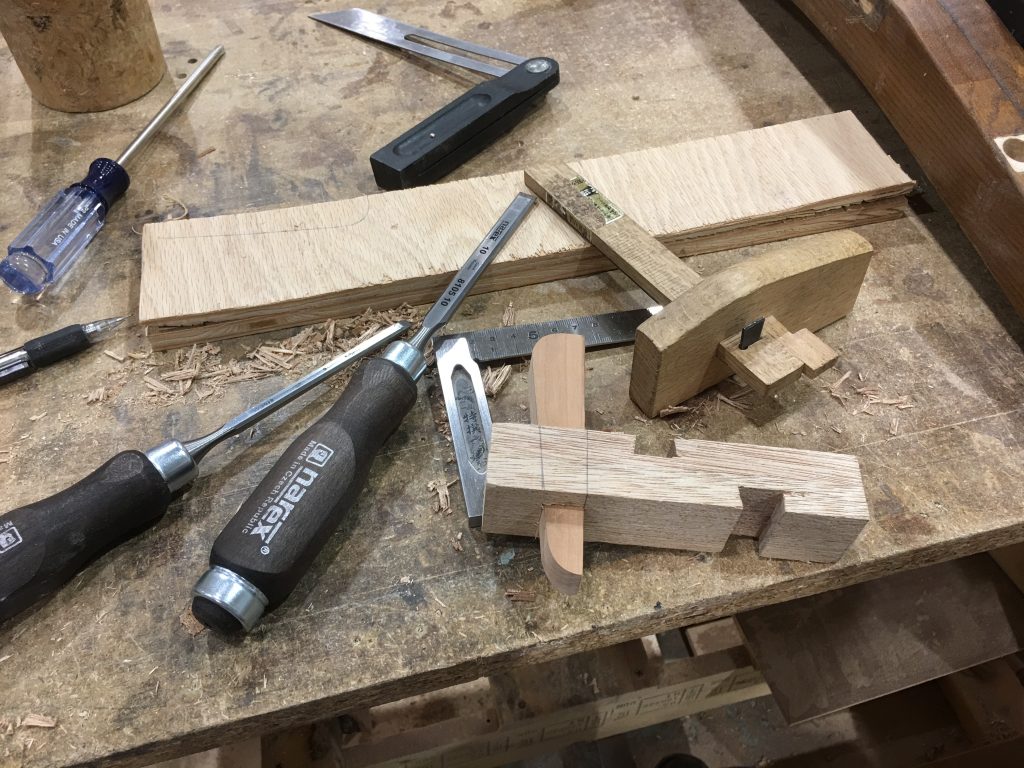
It was time to do the through mortise and tenons for the slats to attach to the side panels. I had never tried mortising before but after lining it all up and marking lines with a marking knife, I was ready to start removing waste. I started with a 5⁄16 inch Forstner bit on a drill press and hauled out most of the mortise’s interior, after that, with freshly sharpened chisels, I slowly worked back to the knife line.
I was a little misguided in this process because I only marked my lines on the non-show face because I thought I’d be saving myself from showing accidental lines on the show face. I should have marked both sides and planed or sanded away any left over lines on the show face. Lesson learned. I also didn’t quite mark correctly for the mortises be exactly in the center. The 6th slat overhangs the back of the panel by about 5mm. It’s a lot but I’m not going to trim it flush. One day, when I feel a little more confident in my mortising abilities, I can always go back and make new side panels.
There are a few gaps in the show side; a product of me not marking and cutting back to the line correctly I can get over it. Hopefully when people see it, they won’t be looking for gaps in house furniture; they’ll just be looking for a place to store their rainboots.
Mortises Done. Tusk Time.
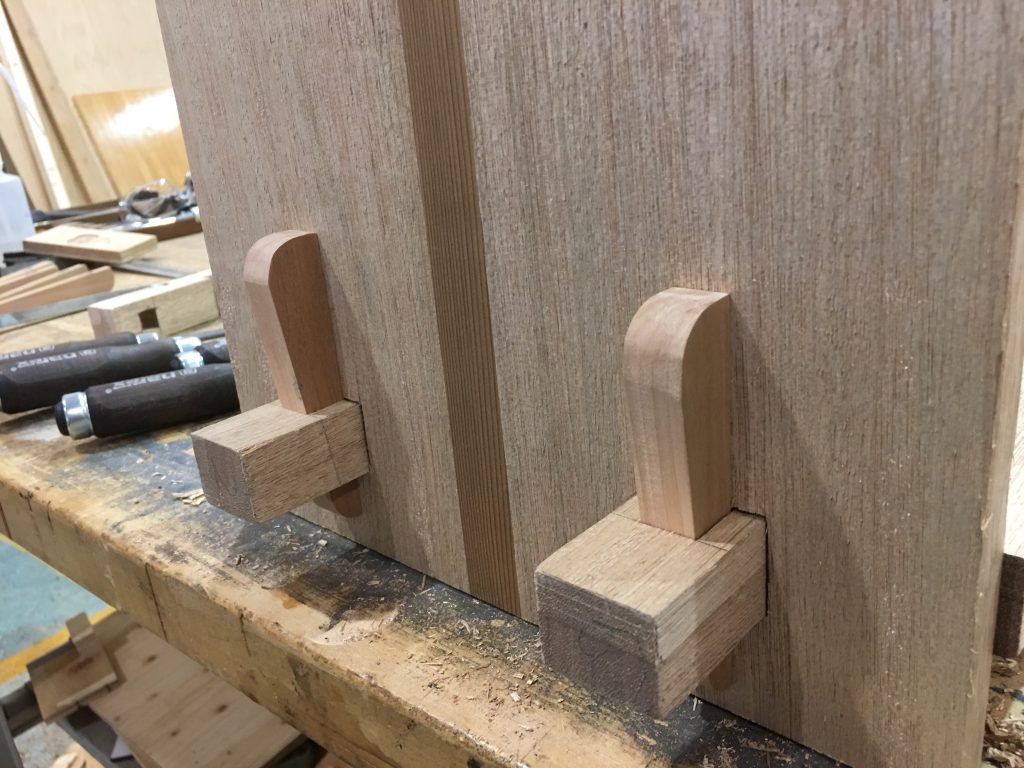
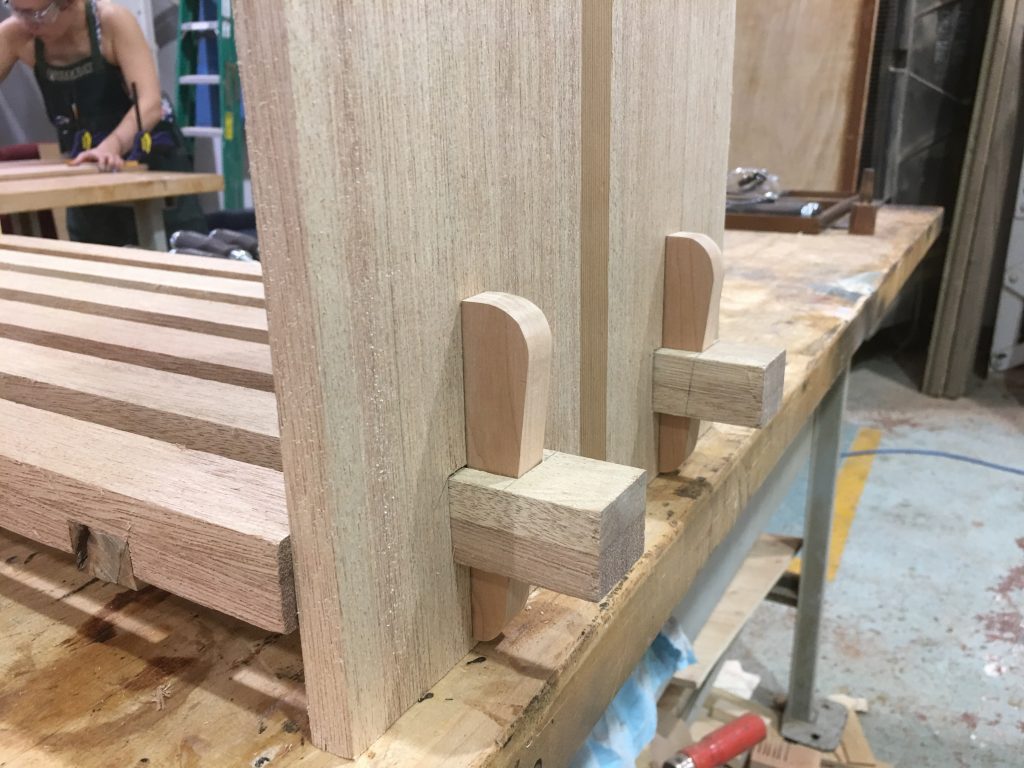
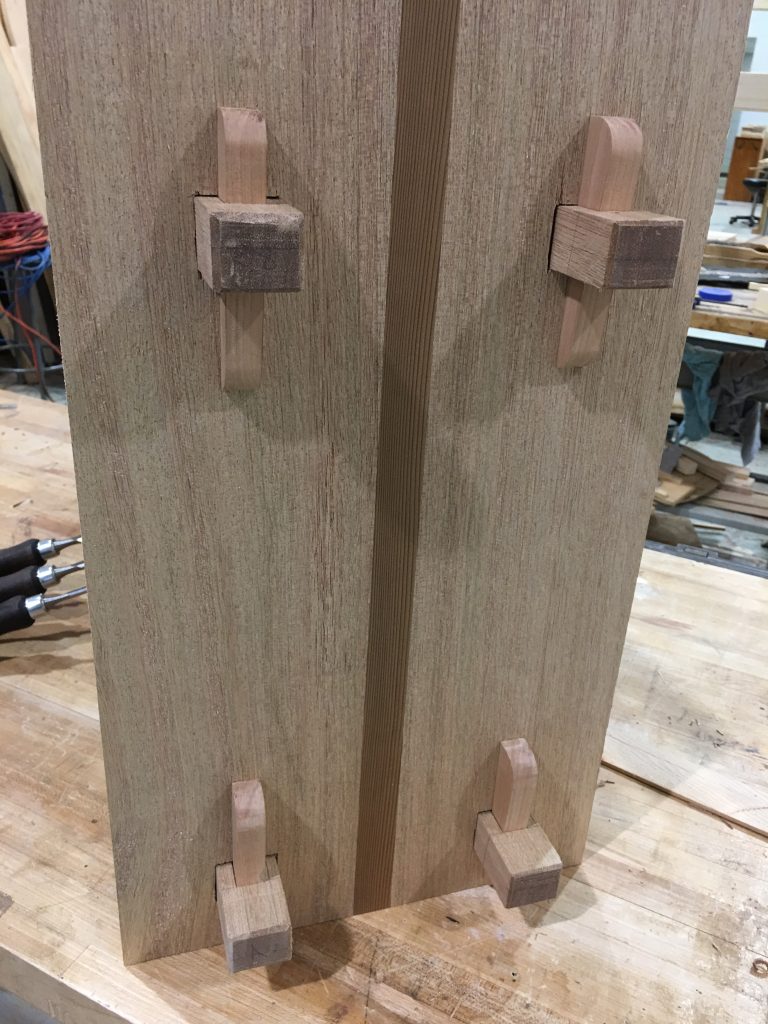
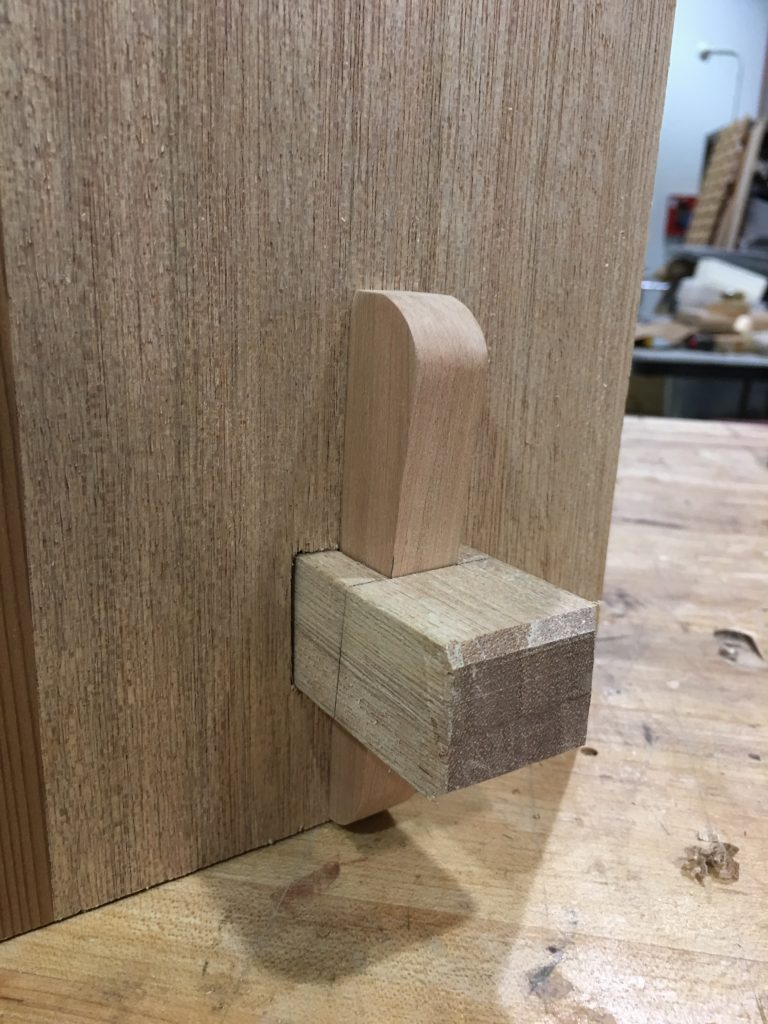
I wanted a simple way to tear down the shoe rack in case we needed to move it or store it. I had already conceded on replacing sliding dovetails with dados for the horizontal slats so a tusked mortise and tenon had to be done in order for me to be satisfied with the outcome of this project. A tusked mortise and tenon is simply a through mortise and tenon through one piece where the protruding tenon has an angled mortise where an angled tusk or pin is seated firmly inside of it.
The through mortises were already completed in the side panels, so I just needed to make the angled tusks, mark everything up, and hog out the angled mortises for the tusks. I thought everything would go fairly straightforward and to my surprise, it actually did. Save for the exception of a failed taper jig attempt, all was well after getting the tusks made.
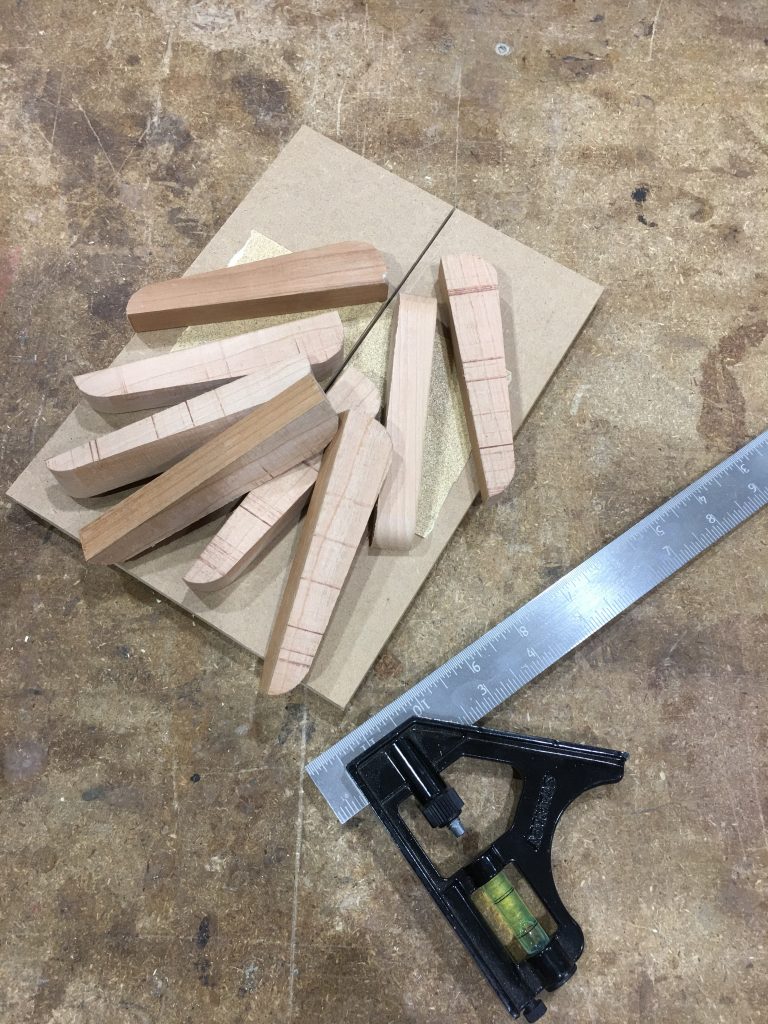
My first attempt at making a jig to cut the tapers on the tusks failed on the first test piece I sent through the table saw. It was pretty tiny and trying to manipulate so close to the blade made me and my fingers uncomfortable. I was misguided on the first pass of the jig and ended up cutting through the entire jig, completely ruining it. I came up with a better idea (in my mind) to instead lay a tusk blank on top of a scrap MDF piece and then cut to a previously marked line against the fence. This gave me eight, almost identical wooden tusks for my project.
I first did a test cut in a spare piece of slat just to get a feel for how to cut the mortise. That seemed to go well so I moved on to the actual slats. I marked each tusk to a specific tenon in the slats and went about hogging out the angled mortises. I recycled the angled guide block I had previously used for my sliding dovetail attempt by recutting its bevel to the approximated angle of the tusks. Using lessons learned from my first mortises in the side panels, I marked and made knife walls on both sides of the mortises in the slats so I could chop with minimal tearout. From there, I used a ½ inch Forstner bit to do the majority of the work for me. I then used freshly sharp chisels to hog out to the knife line. I had to periodically take my chisels back to the stone because apparently Meranti has silica deposits which dulls blades faster than other woods. I finished the final mortise and did a test. Everything went together pretty well, which was very exciting. I was on the last stretch of this project being completed.
Sanding, Finishing, and Done
Sanding is straightforward in most projects. Hit every surface that might get touched going up in grits from coarse to fine. I went from 120 to 240 in this project. For the big areas, I used my trusted orbital sander. For the smaller areas I went in by hand or with a block wrapped in sandpaper. I broke all the edges and rounded over the areas I thought a hand might come in contact with. After sanding, I used an air compressor to clean up all the lingering dust.
It was time for the shoe rack to come home. I finished it at home with Feed-N-Wax by Howard Products. I was also going to use a couple of layers of lacquer but then I read that lacquer wasn’t supposed to be coated over wax, so I scratched that idea. Once the Feed-N-Wax had dried, I rewiped all the surface to find any extra wax caked on. It was time for assembly and placement.
The piece fit perfectly in it’s spot in our entrance. My wife was happy it was finally done and I was happy that I can now move on to another project.
