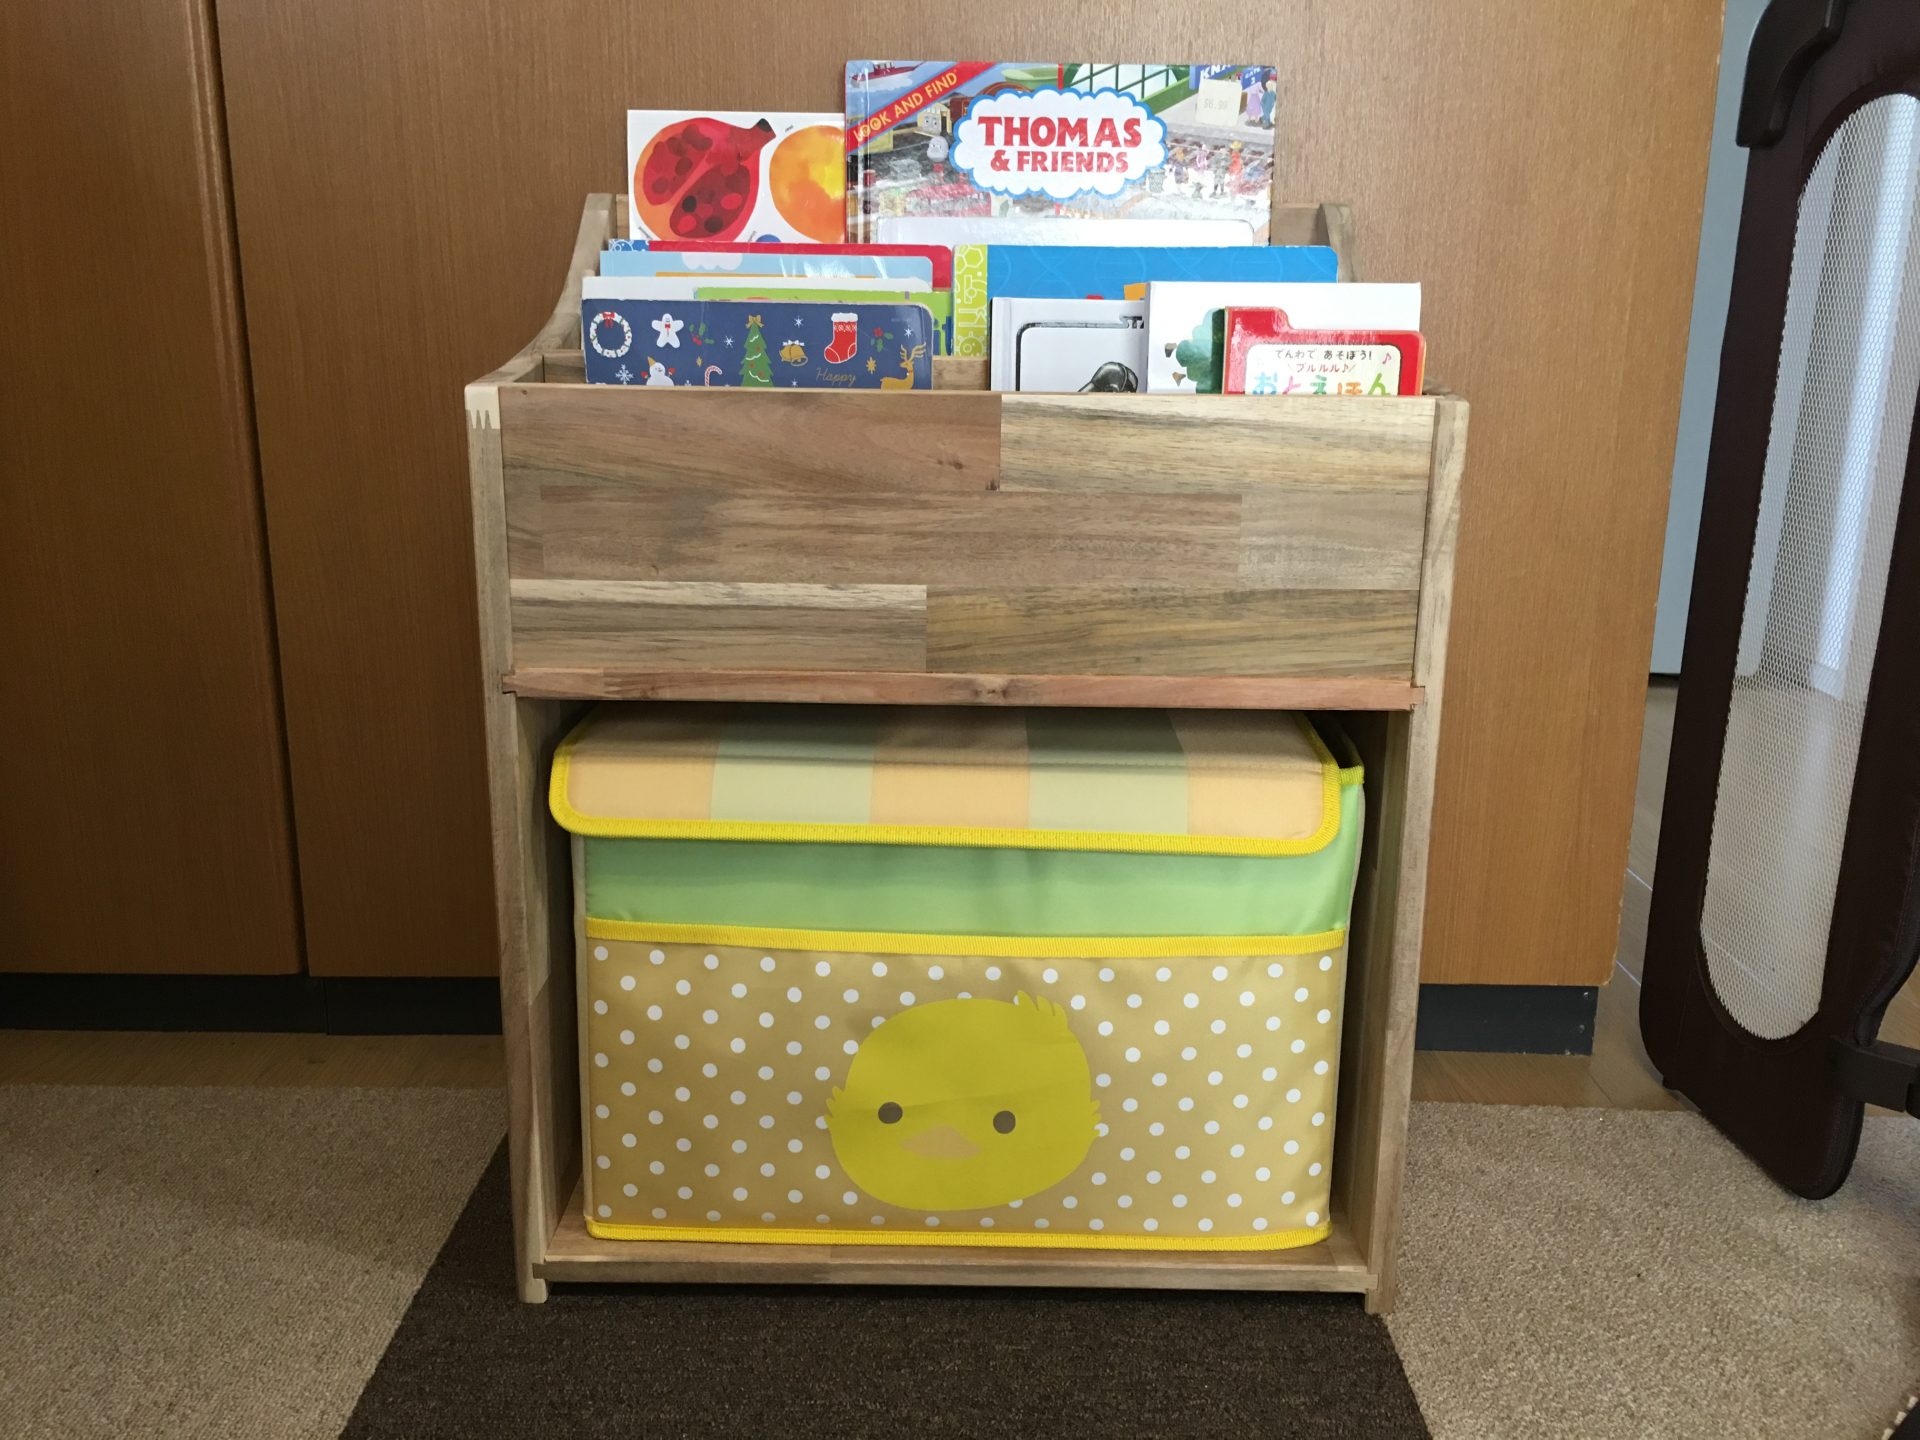
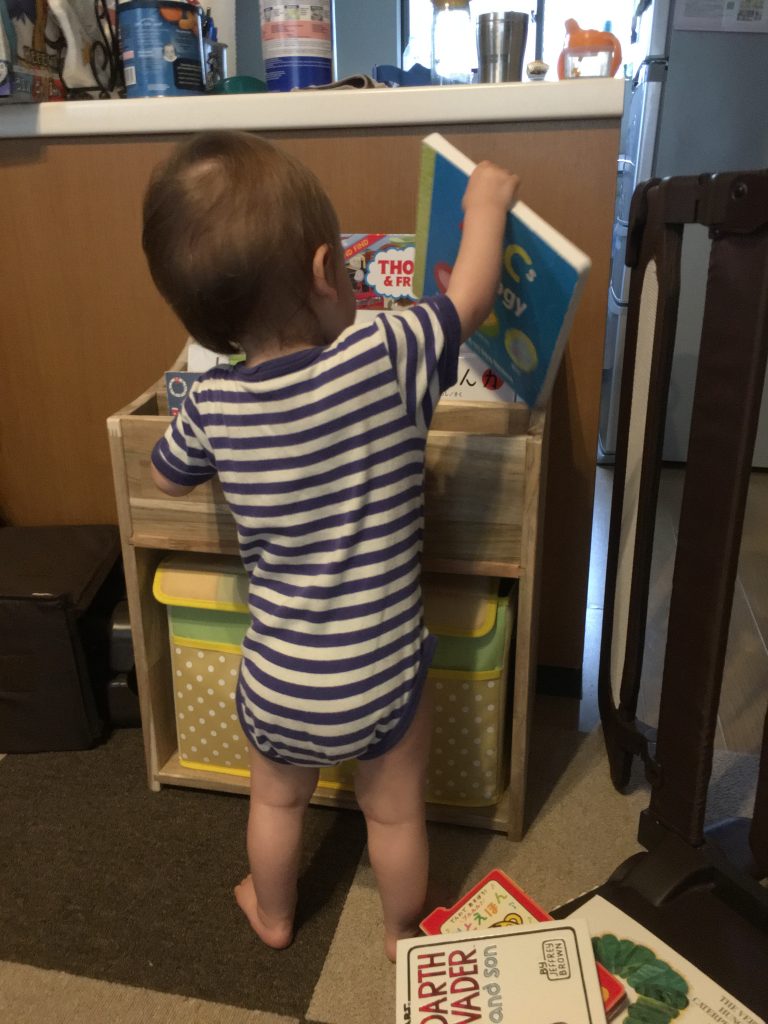
My youngest son is growing up quickly. As he grows, so does his collection of toys and books. Frequent trips to the 100 yen shop to purchase small trays and boxes for his toys is tiresome. We already had a foam and cloth toy box for all of his toys but as his books started to pile up, we were running out of space. I thought it was fine time for a shelf for his toys and books.
Designing
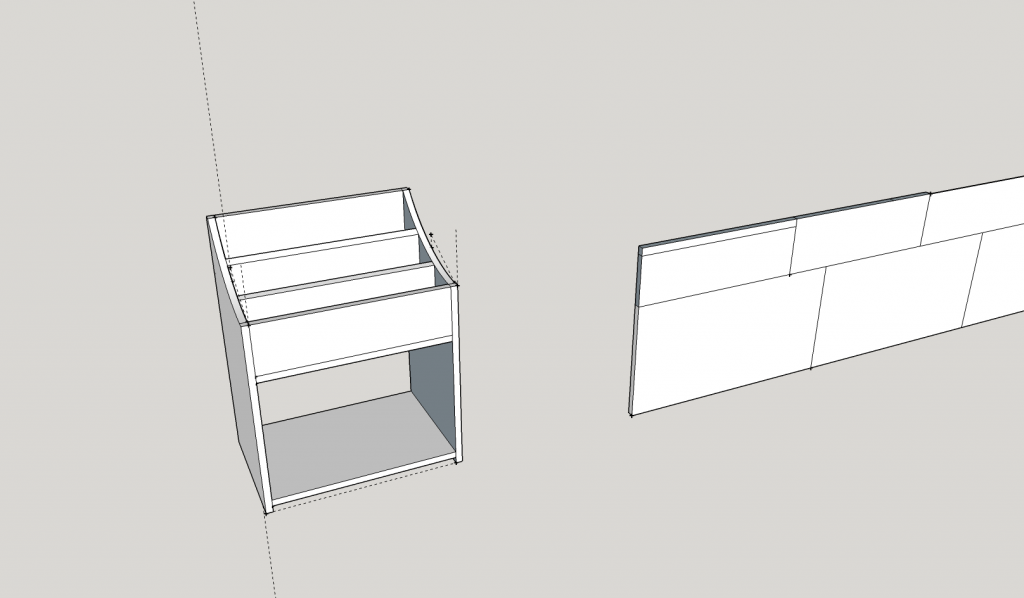
I went through several iterations of the design before I finally committed to one. For some reason, in my first design, I made the piece a lot deeper and a lot longer than it truly needed to be. I was basing this design off of having the original toy box situated on the bottom of the shelf. When I went to design it in Sketchup, I forgot all the measurements and tried to do everything from memory. I went back and measured when everything started to not add up.
With the measurements corrected, I set forth to design something simple and sturdy yet pleasing to the eye. I also wanted it to look like something we could use in the future for another task in case he outgrew it.
In my mini-shelf build, I started doing something new while designing that I had previously not done. I took all the parts that would make up the build and laid them out in Sketchup side-by-side. I combined any pieces I knew I could get from one piece of sheet material or wood. This really helped when I went to purchase the materials as it was a way to visualize the size of what I needed. I took it a step further this time and identified what I wanted to be end grain and edge grain.
Materials and Dimensioning
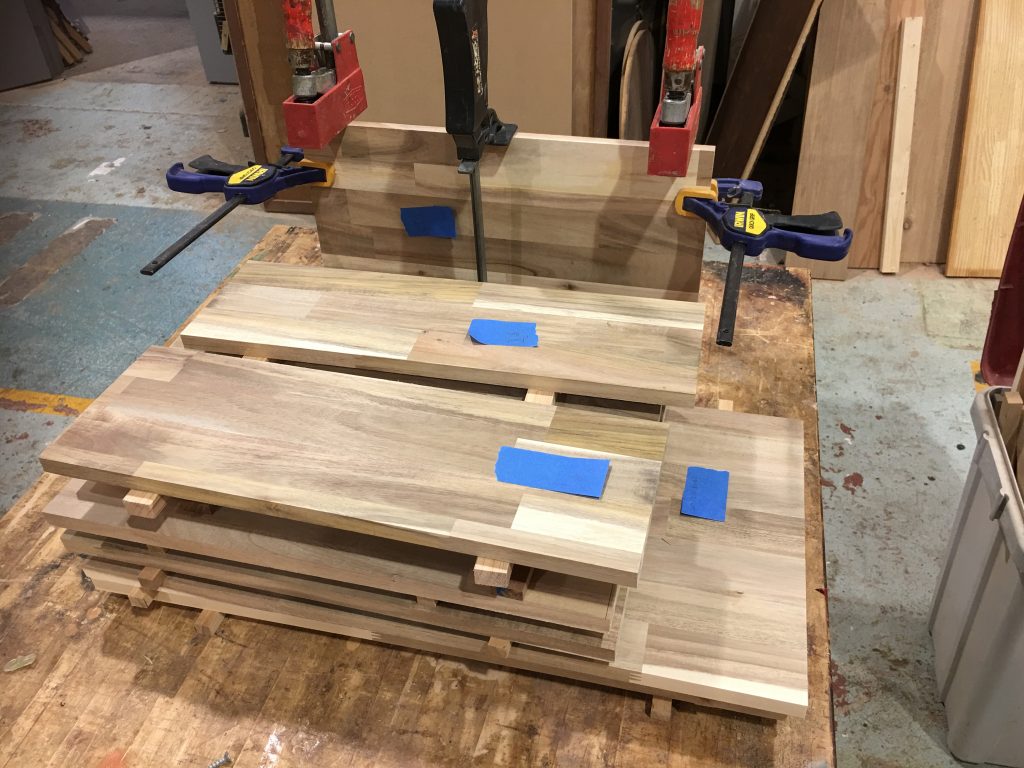
My local home center has sheets of acacia wood in varying sizes almost like plywood. They are already thicknessed which cuts down on dimensioning time. Based on my Sketchup model, I purchased the materials that I needed, loaded them up, and was off to the wood shop.
A radial arm saw and a table saw made quick work of cutting the sheets to dimension. In only a day, I had all the pieces cut up and ready for joinery. One of the mistakes I made during this project was one of planning. The wood I bought was advertised thicknessed at 15mm. I never actually checked though. I, of course, checked for square after I did my final sizing, but I never measured thickness or ran the pieces through a planer. All turned out well, but in the future, I’ll have to be more careful.
This go around, I took a tip from several woodworking resources I’ve read and several buddies I have in the hobby and took full advantage of blue tape. This was the first project that I labeled every piece with a name in my SketchUp diagram and the first project where I attached blue tape to all the components with the names written on them. This was immensely helpful for all sorts of reasons during the build. I think I’ll be continuing this organization technique from now on.
Joinery
I debated awhile on how I wanted to do all the joinery. I’d rather avoid screws at a joint because there are so many other skills to hone in the field of joinery. My last project was all sliding dovetails and I feel like I’ve become fairly proficient at cutting them on the router table so I again went with sliding dovetails. This time though I was going to have to use a router freehand to cut tails for the shelf in the middle since the router table’s fence didn’t go back far enough. I had only ever used a router once like this but it was on a dovetailing jig and not running along an edge guide.
I cut the tails for the lower shelf on the side panels and then cut out all the pins on the shelves and book stand backings on the router table. These steps went smoothly however, when I got to the cut with the router against an edge guide, I messed up significantly. The lesson learned here was never trust that your edge guide is clamped completely; at least until you give it a couple of good stress pushes. About half way into the second side panel, the back of the edge guide I was using veered upward and made a large curve in my piece.

I got lucky on two accounts. One, the first side panel was cut successfully. Second, the veered cut didn’t go downwards, it went up, which means gravity would hold the shelf level in place once I recut with a clamped straight edge. During the glue up, I made a rhombus-shaped shim and glued it in place. Looking from the back of the toy shelf, you hardly notice the mistake and the inner bookstand backings completely conceal the inside cut.
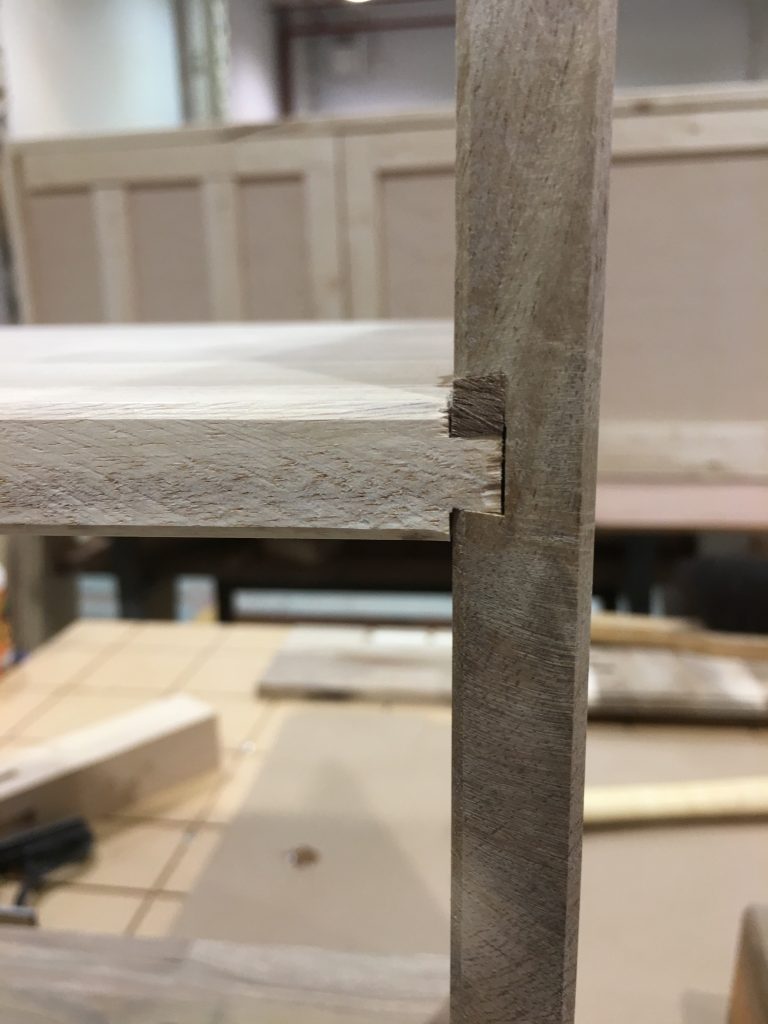
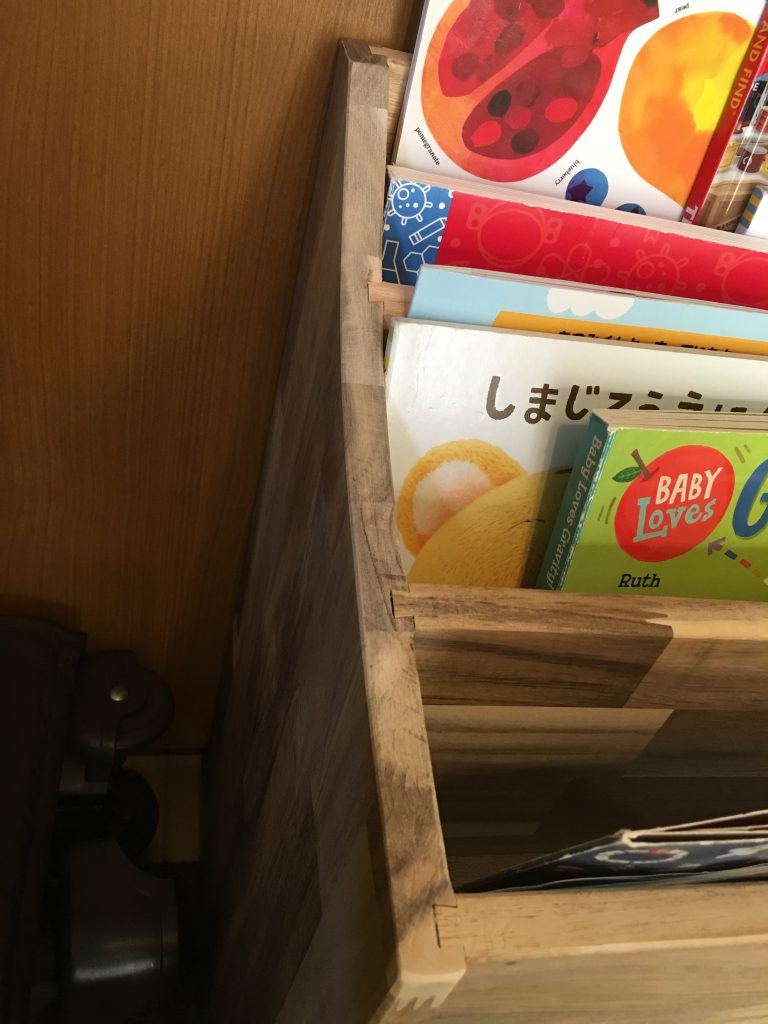
The bookstand backings were also to be sliding dovetails. With the top shelf groove cut and a plan to fix the blunder, it was back to the router table to finish off the other grooves on each side panel. In total the toy shelf contains twelve sliding dovetail joints.
Minor Details
At this point, the toy shelf was just a box with some slots in the top. I wanted the books to be more easily seen and accessed by my son. My side panels were perfect rectangles but I had planned already on making the book stand area curved downward from the back panel to the front face.
The shop that I frequent was down a bandsaw due to some issues with a motor so I was stuck with the jigsaw. I had preplanned the heights of the book stand backings already so it was just a matter of getting each consecutive height and then drawing a curve to cut to from those points. Once cut, I used a spindle sander to clean up the rest of the leftover bulk and then after that I used sandpaper, a card scraper, and a mini-block plane to make a nice, natural looking curve. Using a spindle sander is something I’ll definitely have to get better at.
The final detail included breaking all the edges that faced outward by cutting a smaller chamfer on the router table. In the hard to reach places, I used a chisel or sanded a chamfer after glue-up.
Glue-Up
Since all the joinery was aligned correctly and square, the glue-up went relatively smooth. I had premade the rhombus to fix the blunder of the top shelf and had it ready to shim once I began glue-up. A few mallet whacks set the pieces in correctly and a couple of clamps assisted in helping everything fit snugly down onto the top shelf since those bookstand backings were nothing more than glue joints.
Finishing
Very little of this project was sanded. The majority of any tear out, bumps, scratches, leftover glue stains and pencil markings were removed with a card scraper. I inquired from several buddies about what type of finish to use and one person had a great idea. Don’t finish it at all. His thought process to that was inevitably this piece may take a little abuse over the years. It may get stickers adhered to it, get drawn on, and it may get knocked around a little bit. In the future, when he’s older and the piece can turn into something else, it would be much easier to refurbish it if there was never a finish on it to begin with. With that advice, I left it alone. I made it as smooth as I could with a smoothing plane and a card scraper, and brought it home.
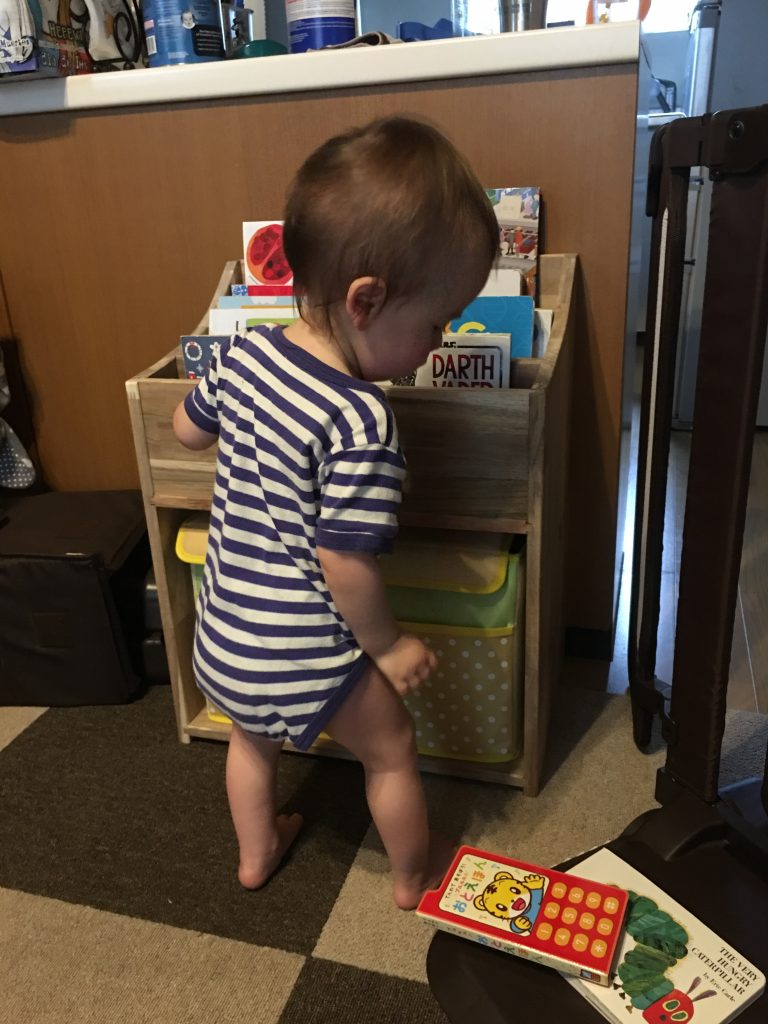
Once my son saw it for the first time, I can’t say that he was excited to have his own custom furniture. He did however enjoy taking all of the books out and dumping them on the floor. All in all, I think it turned out pretty good. It looked pretty close to what I drew in SketchUp and it is functionally fit for its purpose. Hopefully the joinery and material will stand the test of time.
